Sign-in


<< Repair Method for Nose Section Using a Pin Pusher Tool >>
We will explain the process of replacing the nose bridge pin and rubber parts using a pin removal tool.
Towards the end, there is also an explanation on how to attach the temple washer, so please refer to it as needed.
This Pin Pusher tool can be used for repairing the nose bridge of the following frames:
- Juliet
- X-METAL XX
- Penny
- Romeo 2
- Mars
(Note: X-SQUARED does not have a nose bridge pin but a screw, so this tool is not necessary for nose repair.)
Based on our experience with replacement work so far, we would like to provide detailed explanations for several key points.
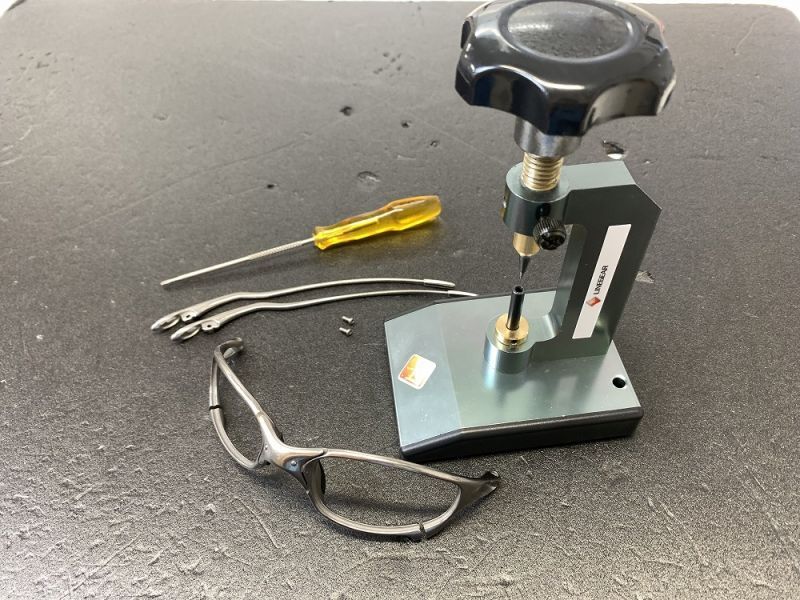
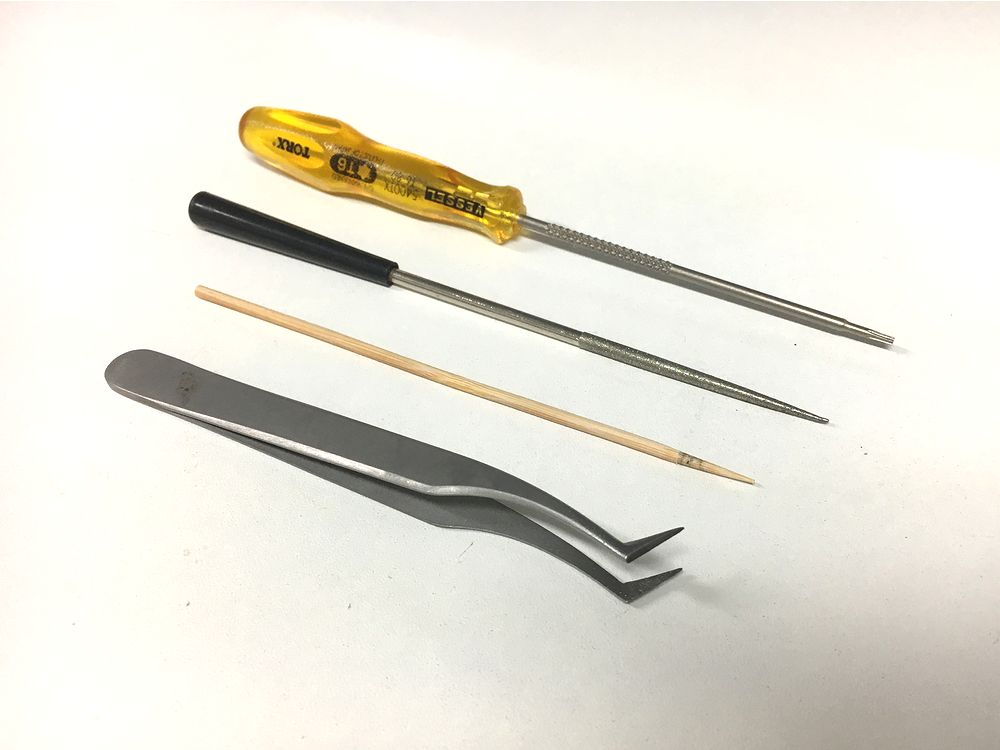
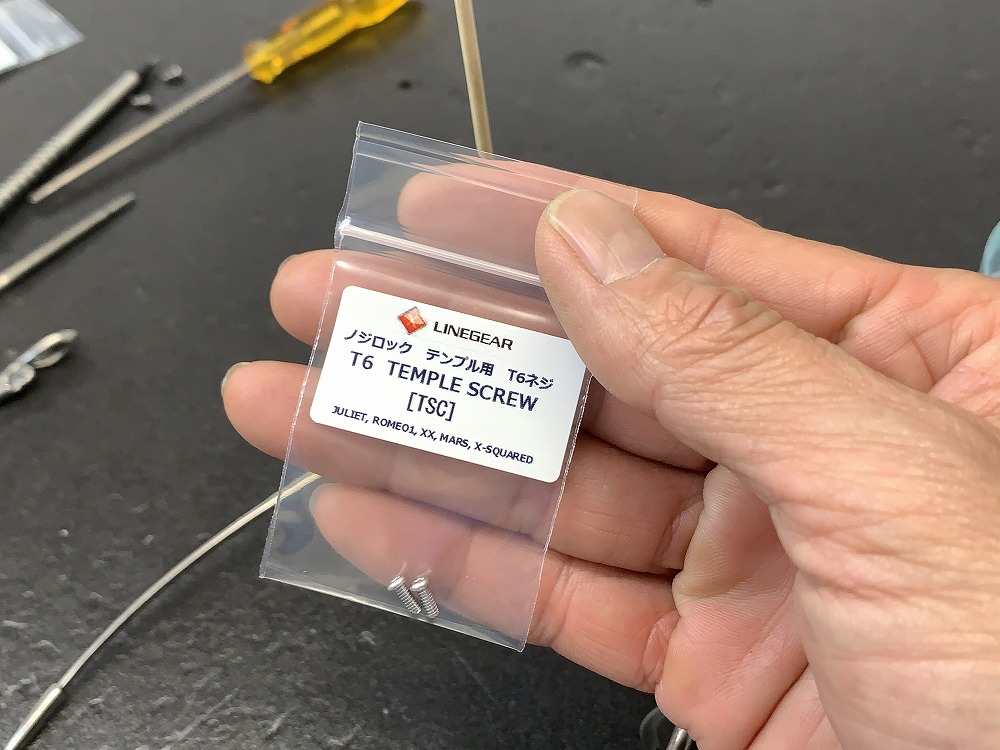
First, what you need to prepare is a pin removal tool, T6 screwdriver, tweezers, bamboo skewer, and a cylindrical file.

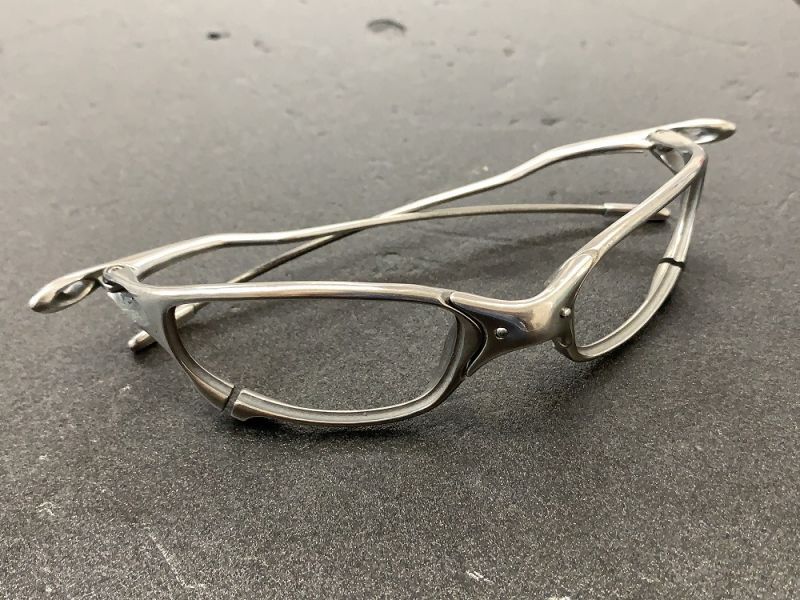
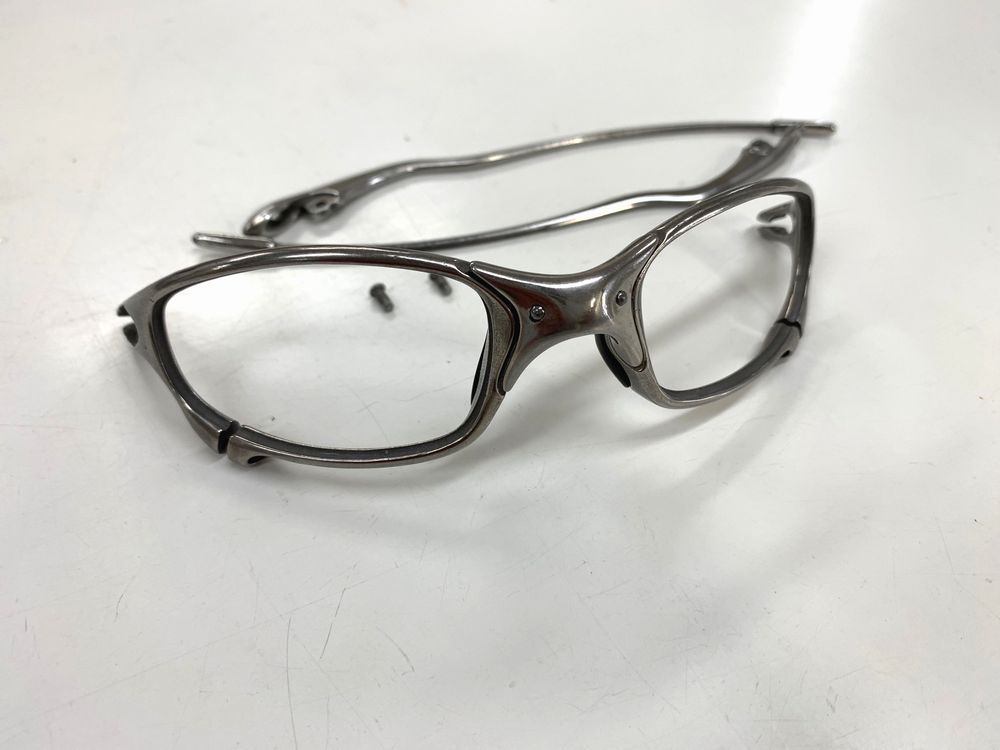
Now, let's begin the explanation using the Juliet Polished frame.

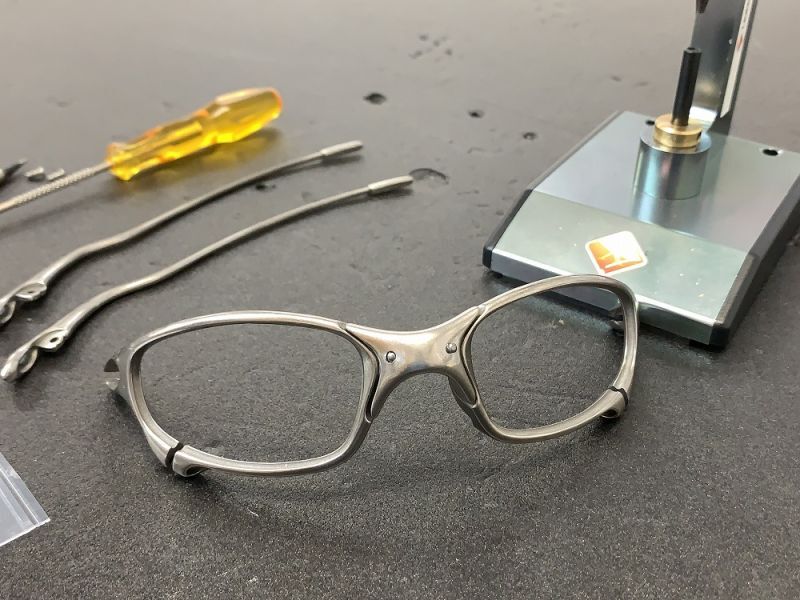
1. How to Remove the Pin
Firstly, before starting the procedure, remove the arms to ensure an ample working space.
This can be easily done using a T6 screwdriver.

Although it is possible to perform the replacement without removing the lenses, it is recommended to take them off to avoid potential scratches during the process. The lenses can be removed by loosening the orbital screws at the bottom of the frame using a T6 screwdriver.
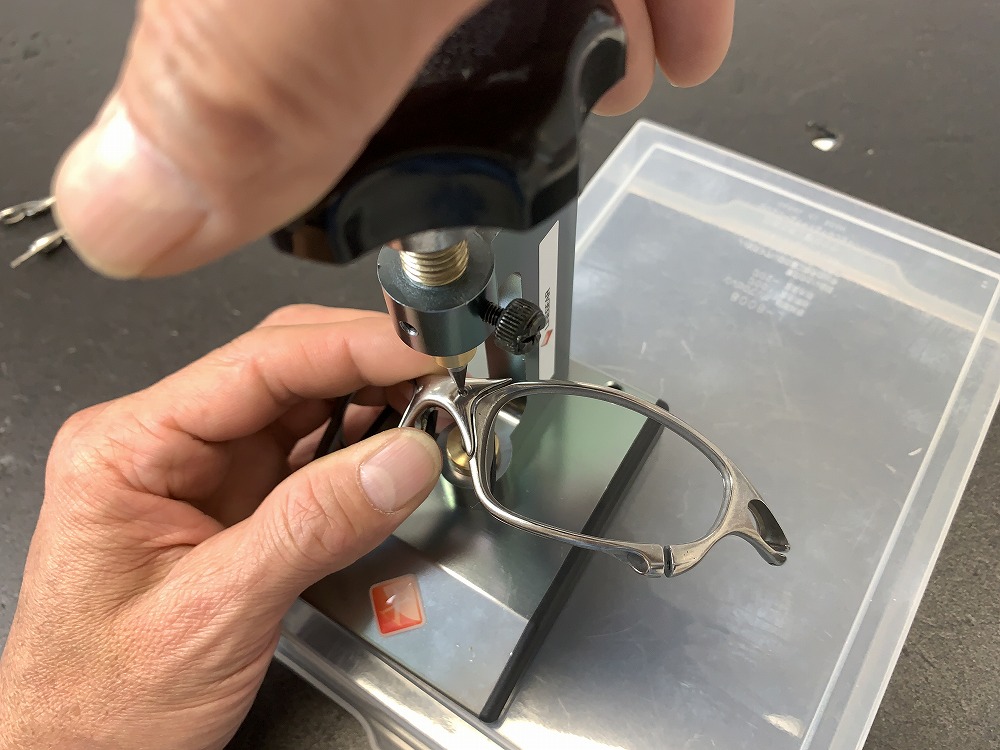
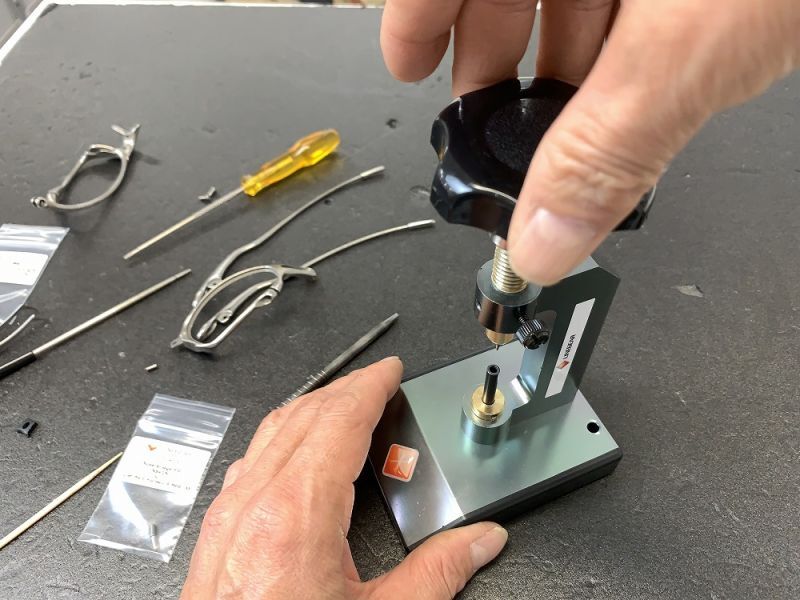
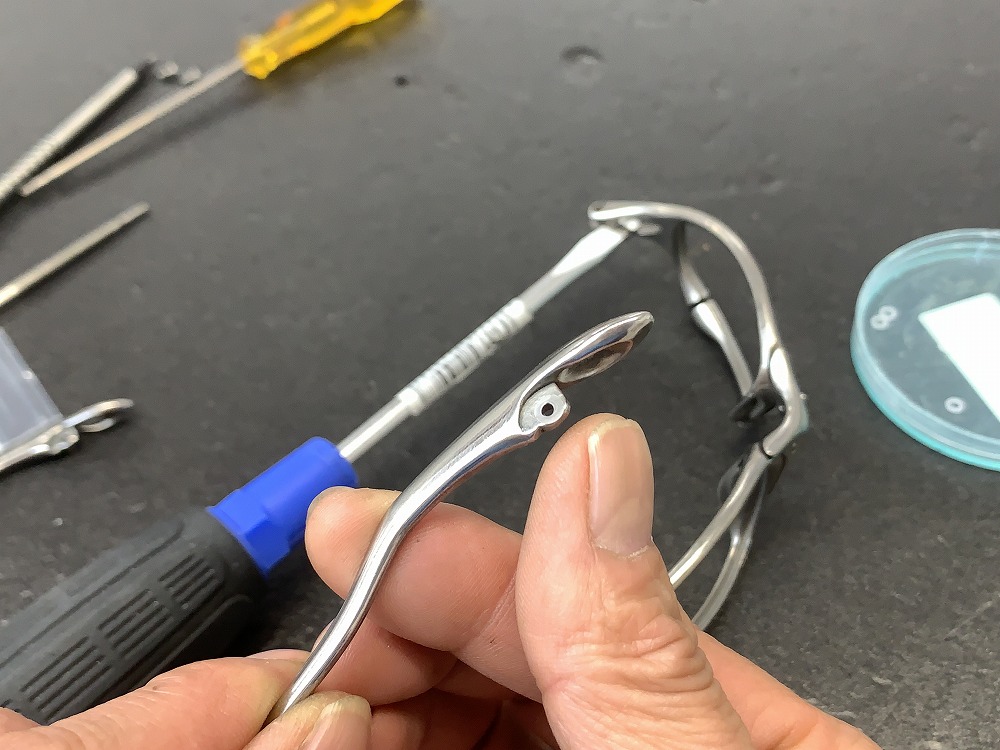
Next, place the pin removal tool box underneath and ensure additional space for convenient work.
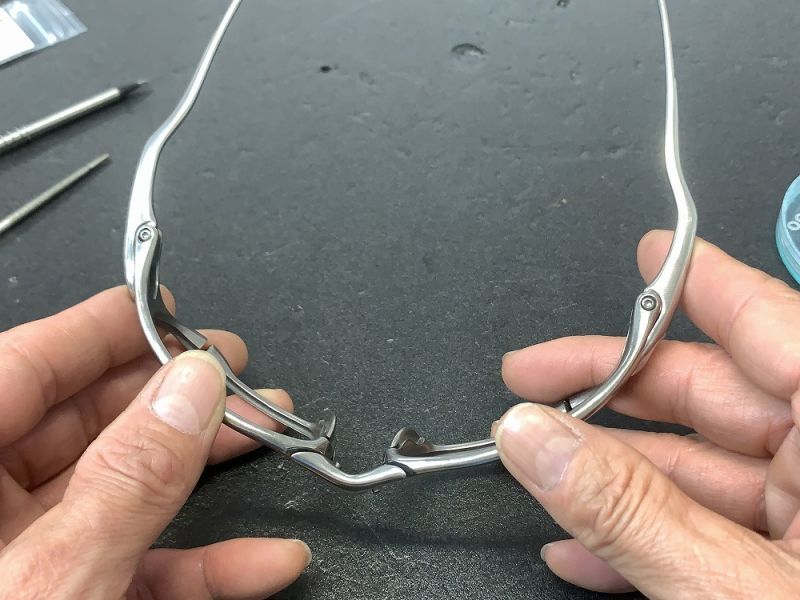
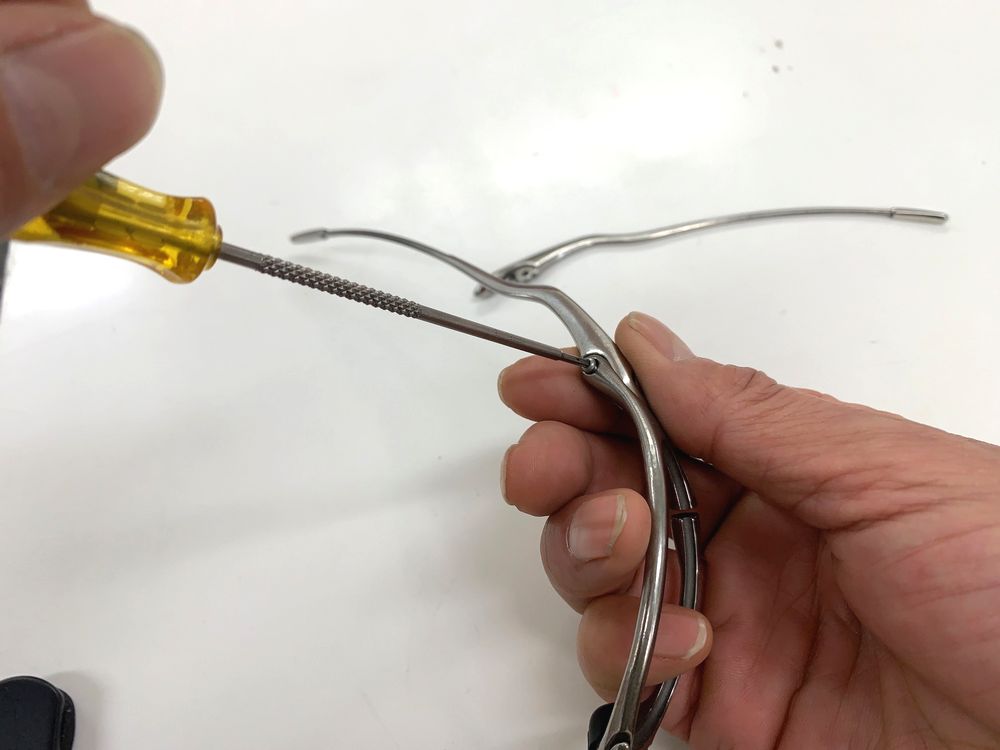
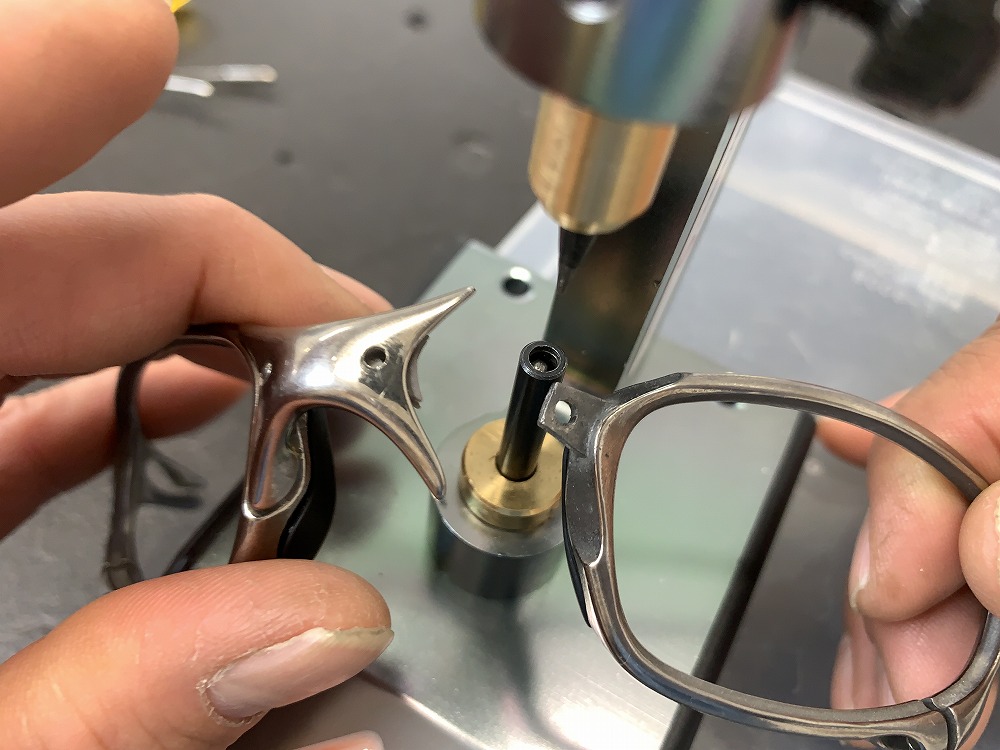
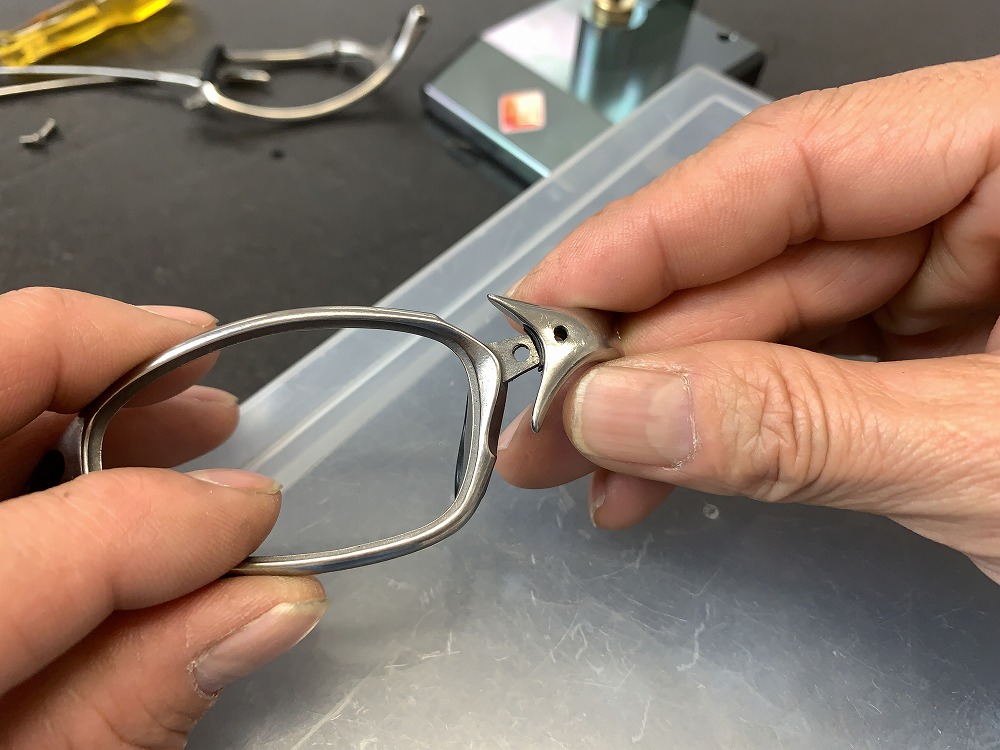
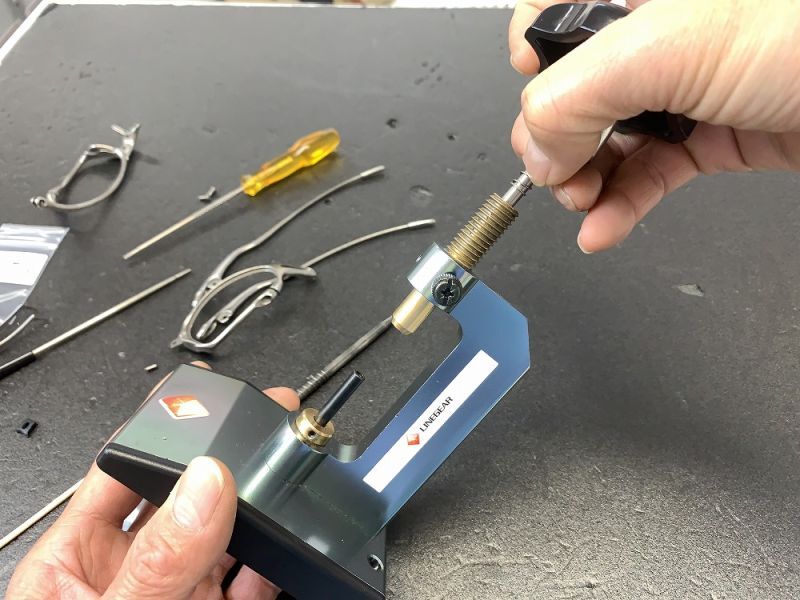
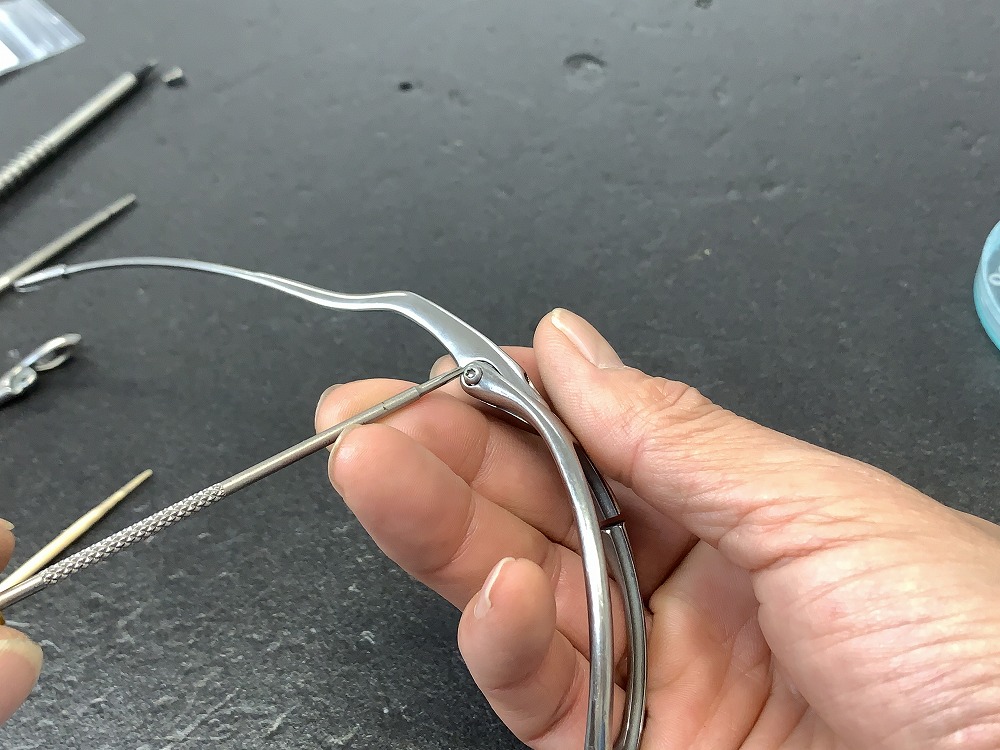
Start pushing the pin out.
To prevent scratching the back of the frame, it is advisable to place a cloth or paper for protection while working.
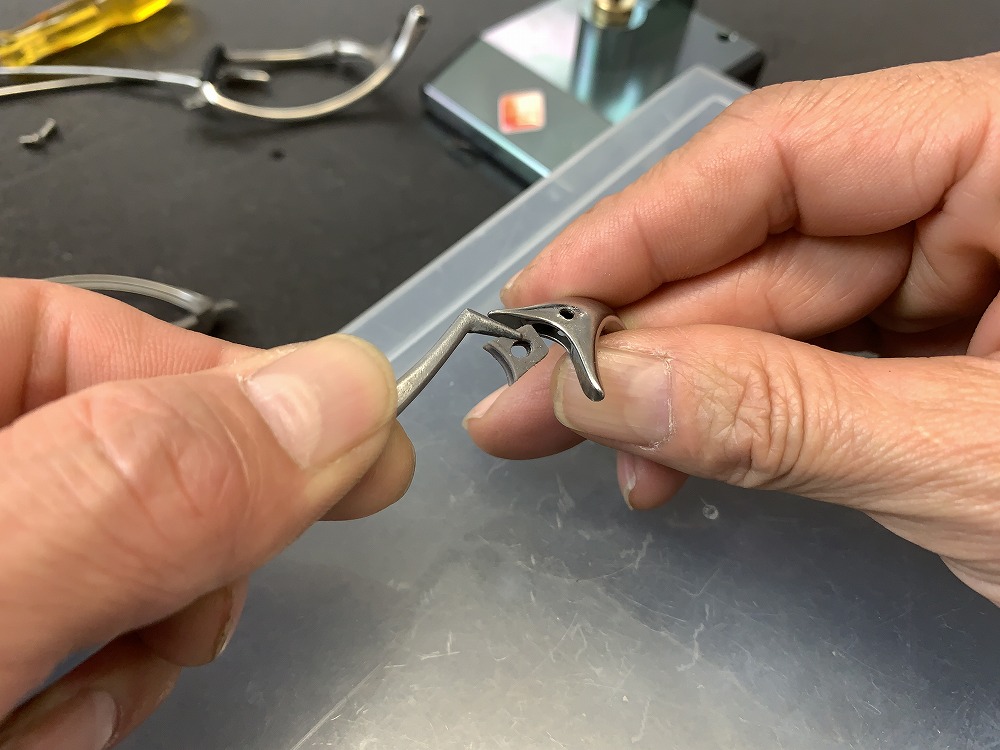
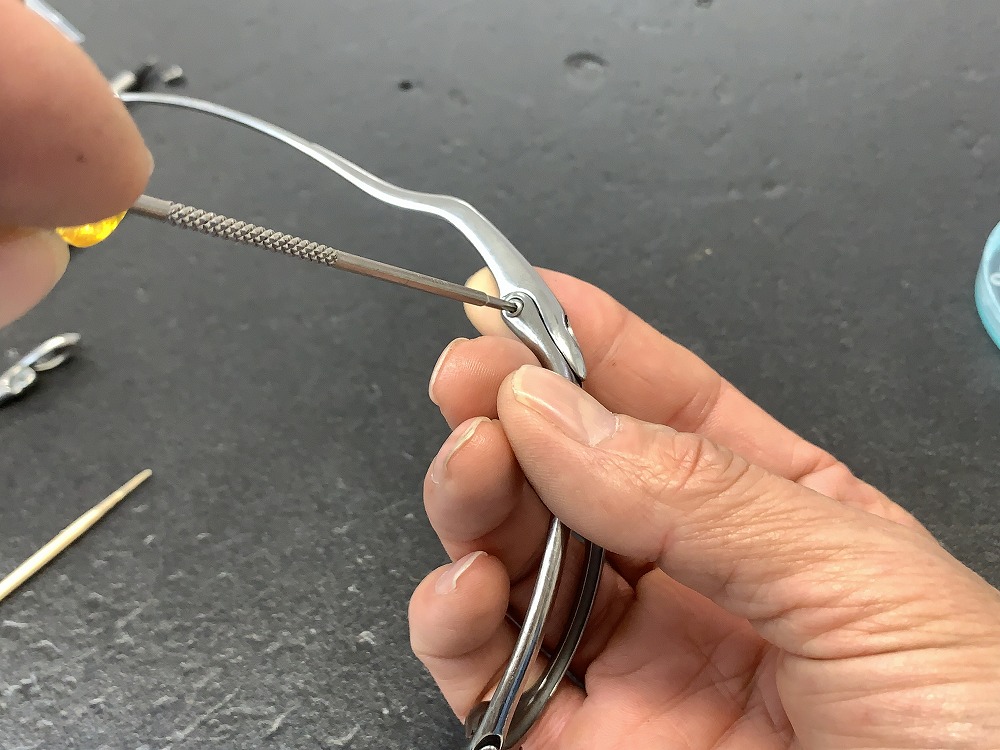
Align the tip of the pin removal tool with the center of the pin, gradually turn the handle, and push the pin out.
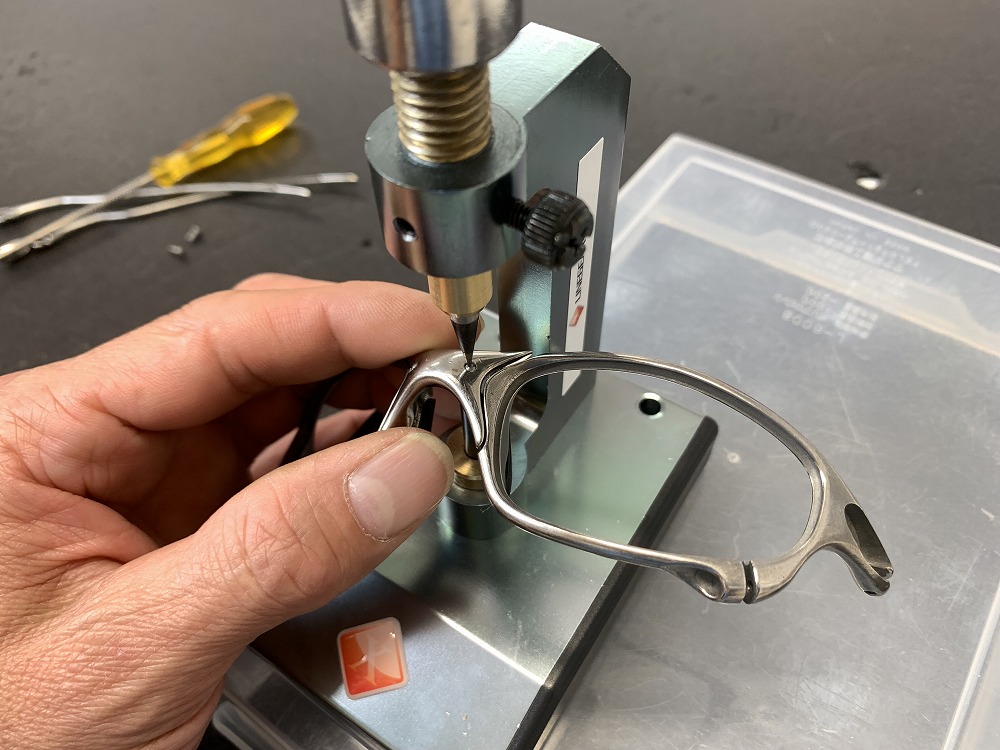

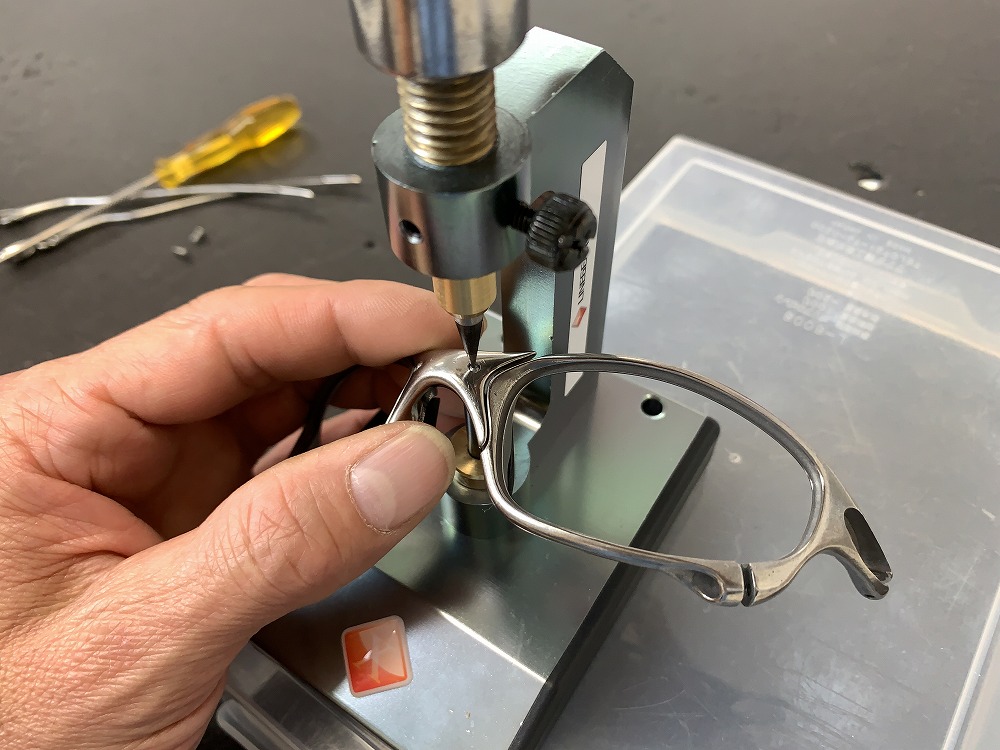
The genuine pins come with a lock, so occasionally, the lock may catch on the frame, making it a bit challenging to remove smoothly.
In such cases, please push a bit more forcefully.
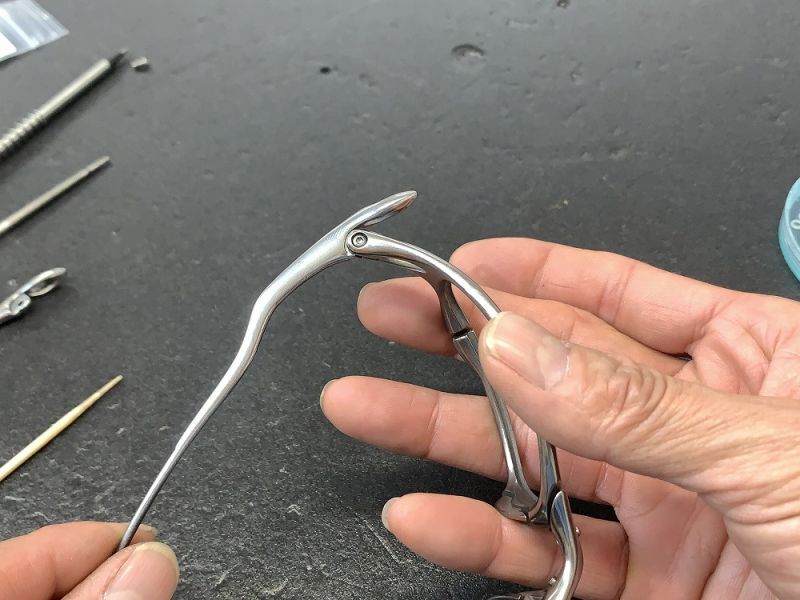
If you firmly grasp the center of the pin's tip and push, the process of removing the pin is not overly difficult.
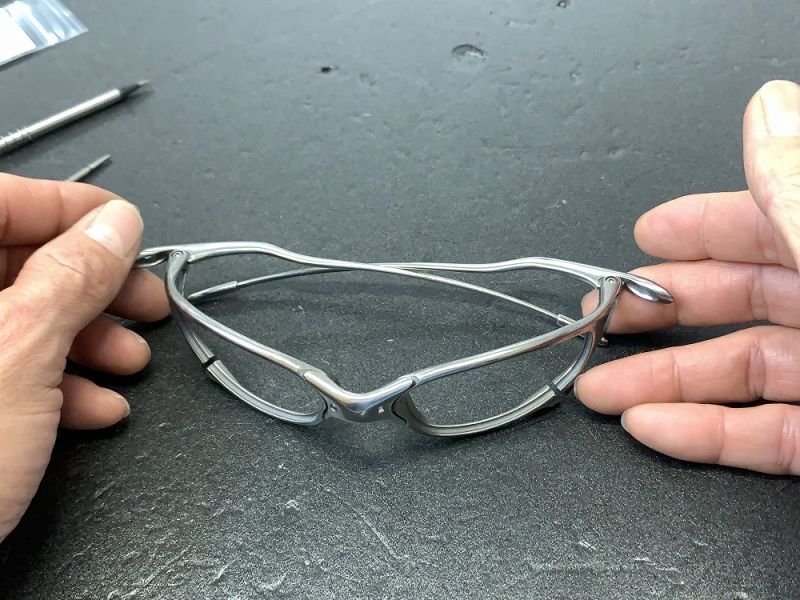
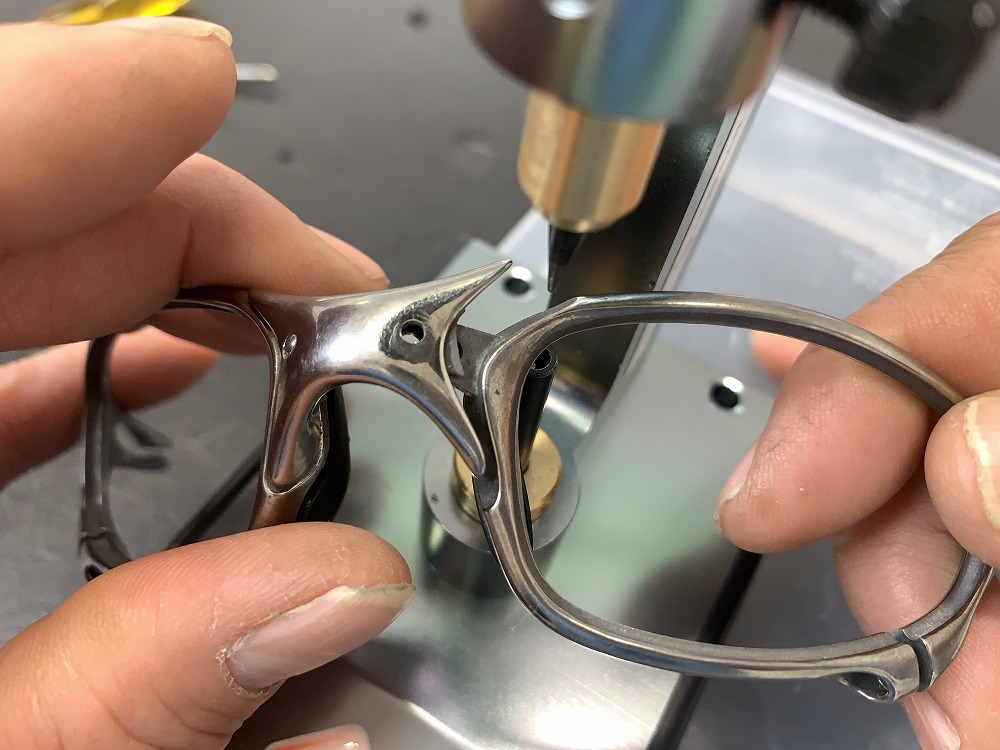
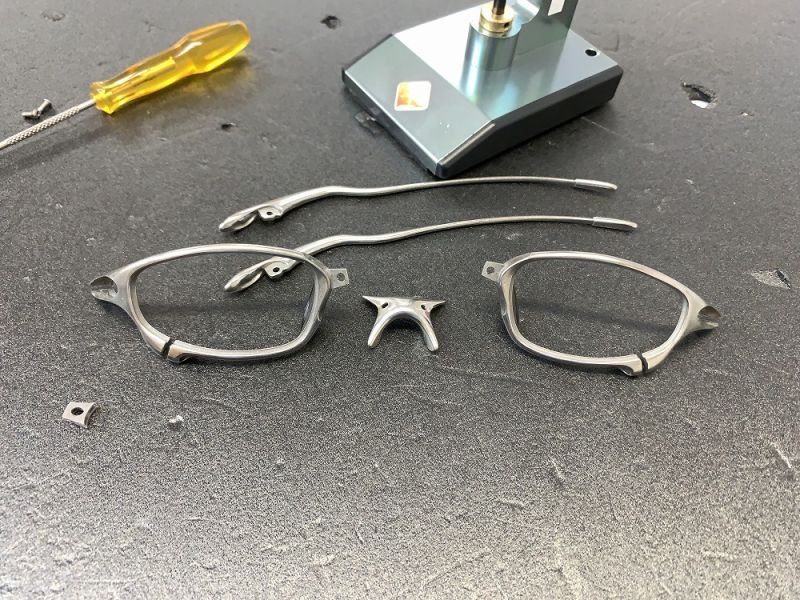
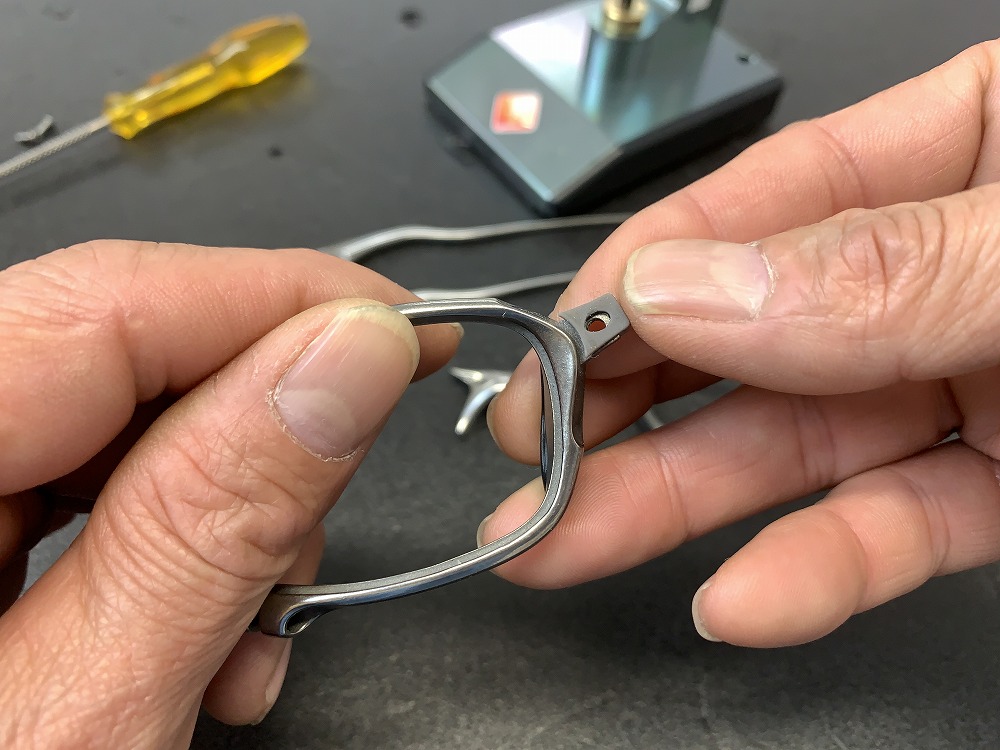
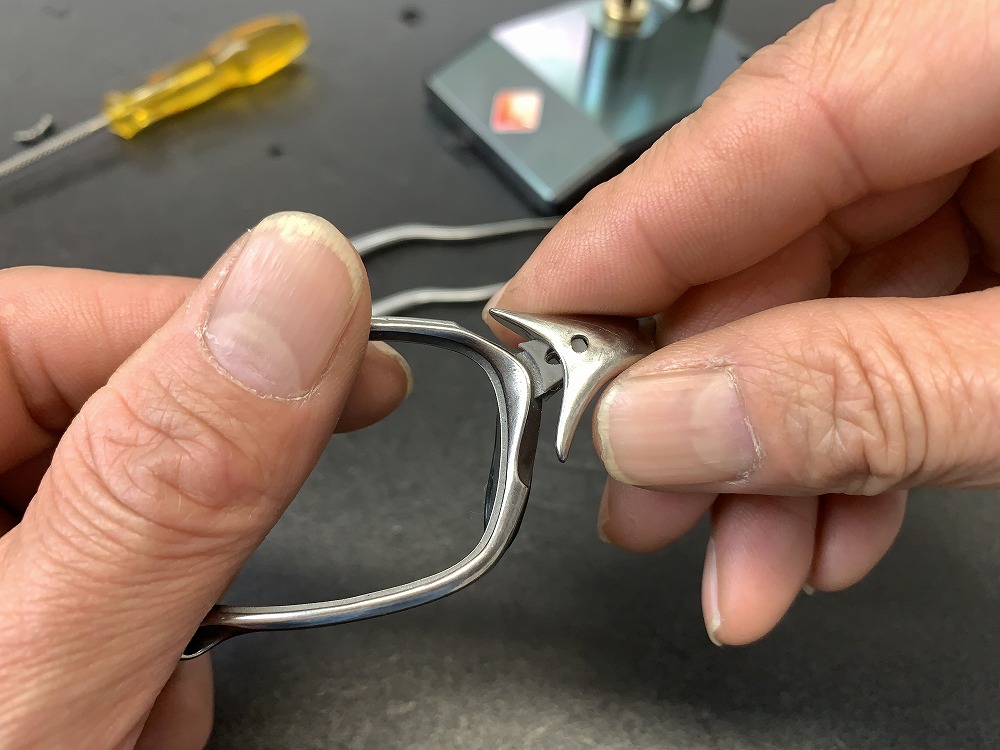
Now, both the nose bridge and orbital are detached.

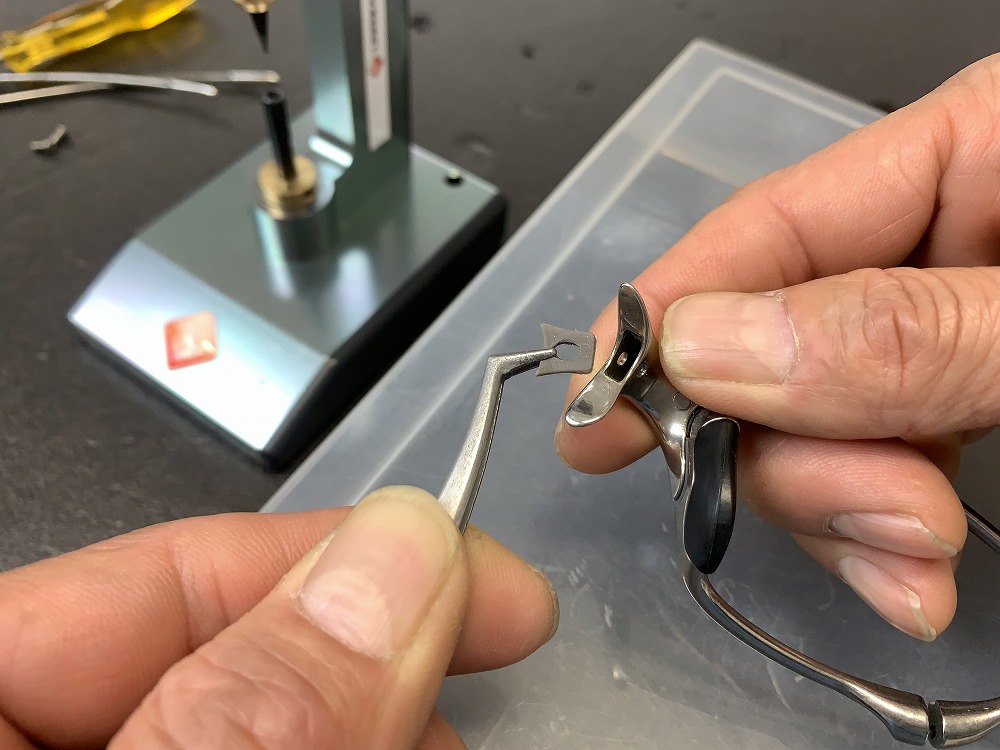
After successfully removing the pin, use the tweezers prepared earlier to extract the old nose bridge rubber parts.
Clean the frame holes thoroughly.

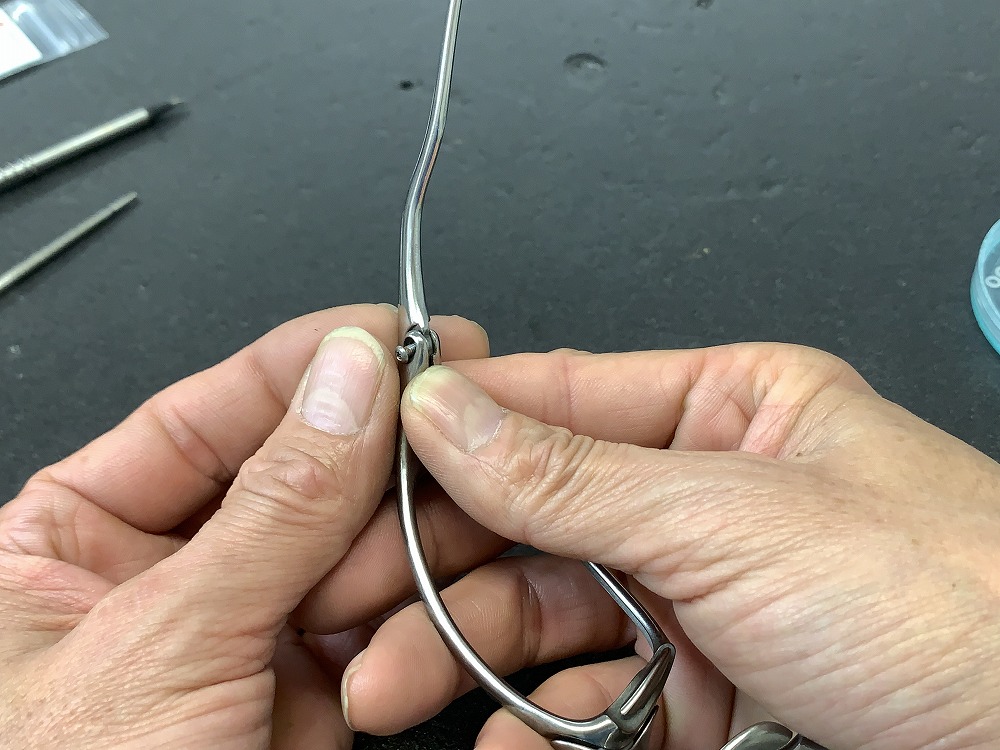
Next, similarly work on the pins on the opposite side and remove them.
This completes the disassembly of the frame.
2. Installation of Nose Bridge Pin
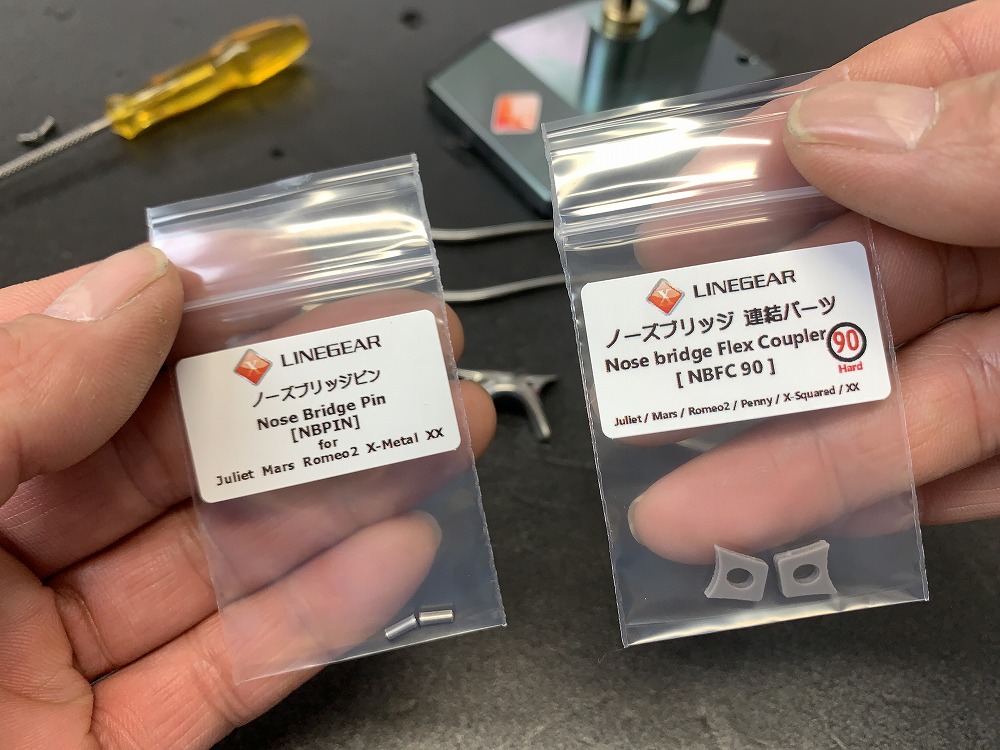
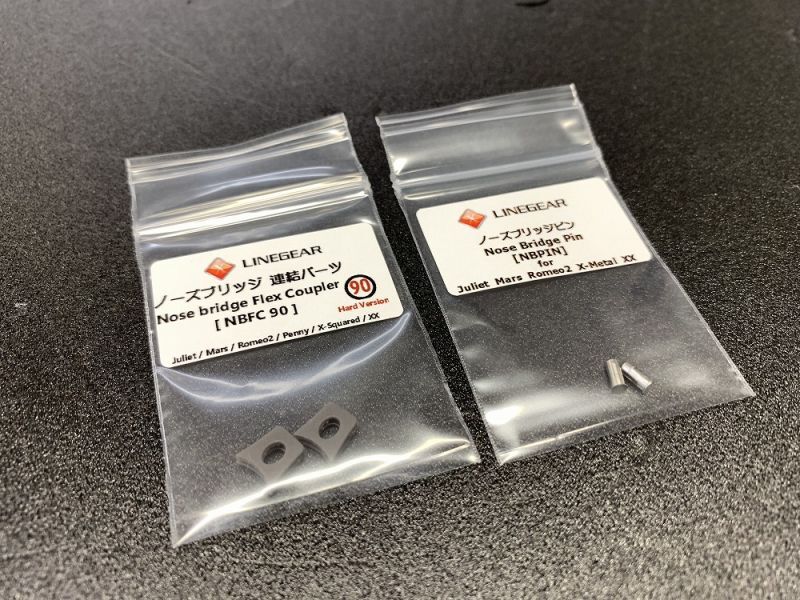
Attach the new Nose Bridge Flex Coupler and start pushing in the pin.
The pins are available in three different colors for Polished, Plasma, and Dark Gray frames. Please choose the pin color that matches your frame type.
*Note: Pins with removed locks, even if reattached, may have residual looseness and cannot be reused. Additionally, if there are scratches or issues from the removal that cause the pin to catch or not fit properly, it is recommended not to reuse the pin. Replace it with a new one.
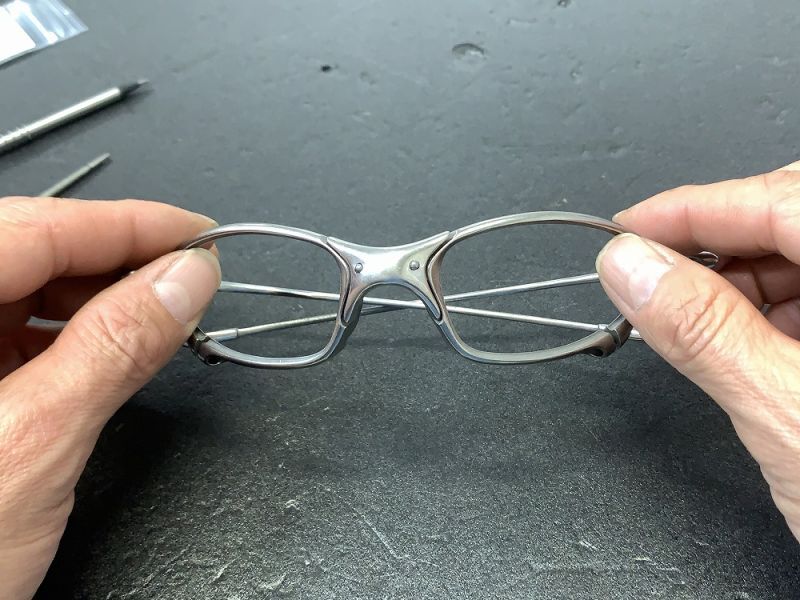
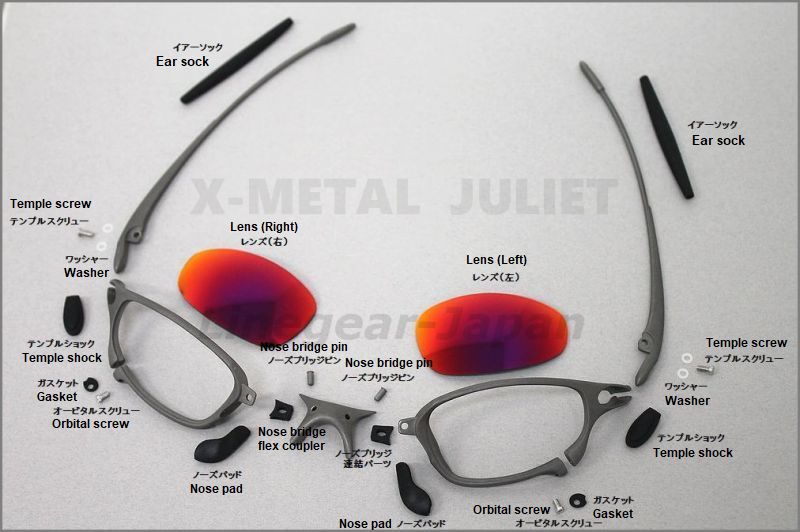
For reference, the image below explains the names of various parts of Juliet.

Attach the Nose Bridge Flex Coupler.
*Note: These parts are not included with the this listing, so please purchase them separately.
There are two types of flex coupler, and the difference between them is the hardness of the material.
- Nose Bridge Flex Coupler 80: Normal hardness
- Nose Bridge Flex Coupler 90: Firmer (suitable for those who want to adjust the nose bridge to be firmer)

You can choose the Nosebridge pin and Felx coupler from this page:
Attach the Nose Bridge Flex Coupler and press it into the frame.
We now enter the crucial step of pressing in the pin.
Based on previous experiences, the two steps involving the cylindrical file and bamboo skewer are considered most vital.
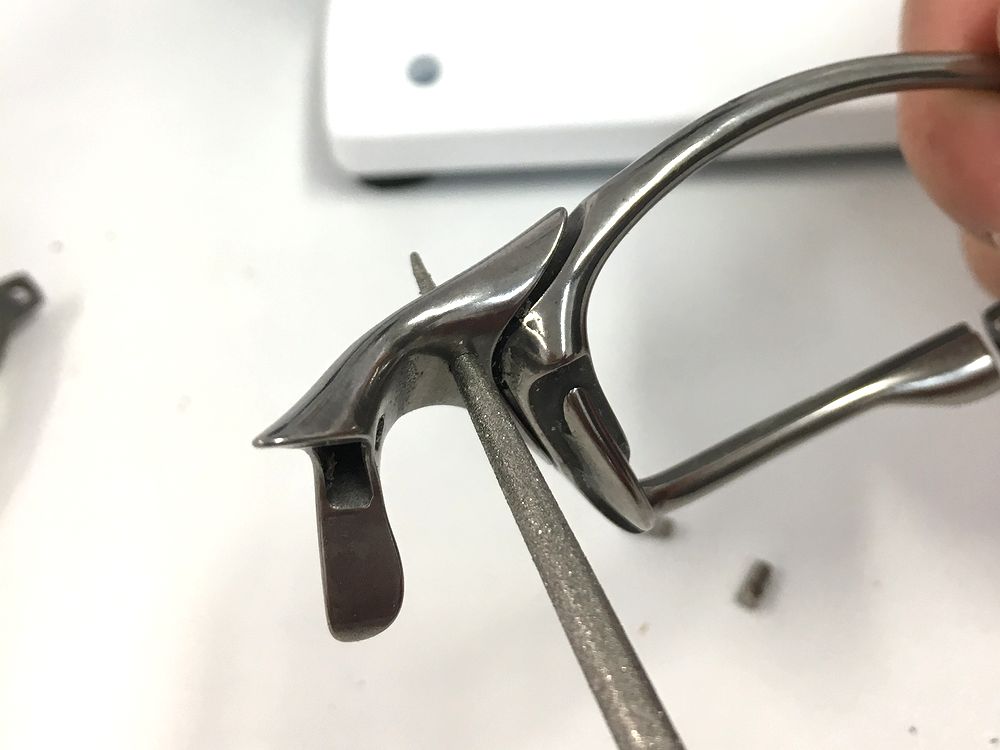
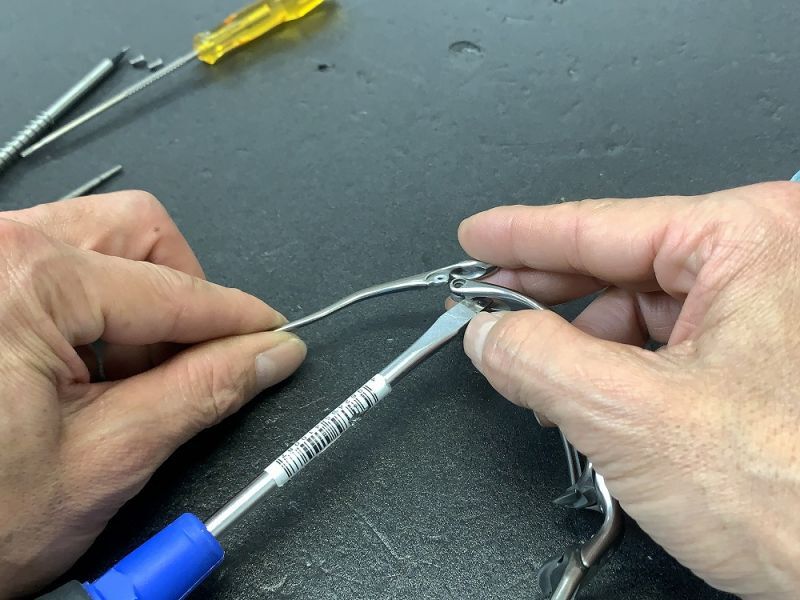
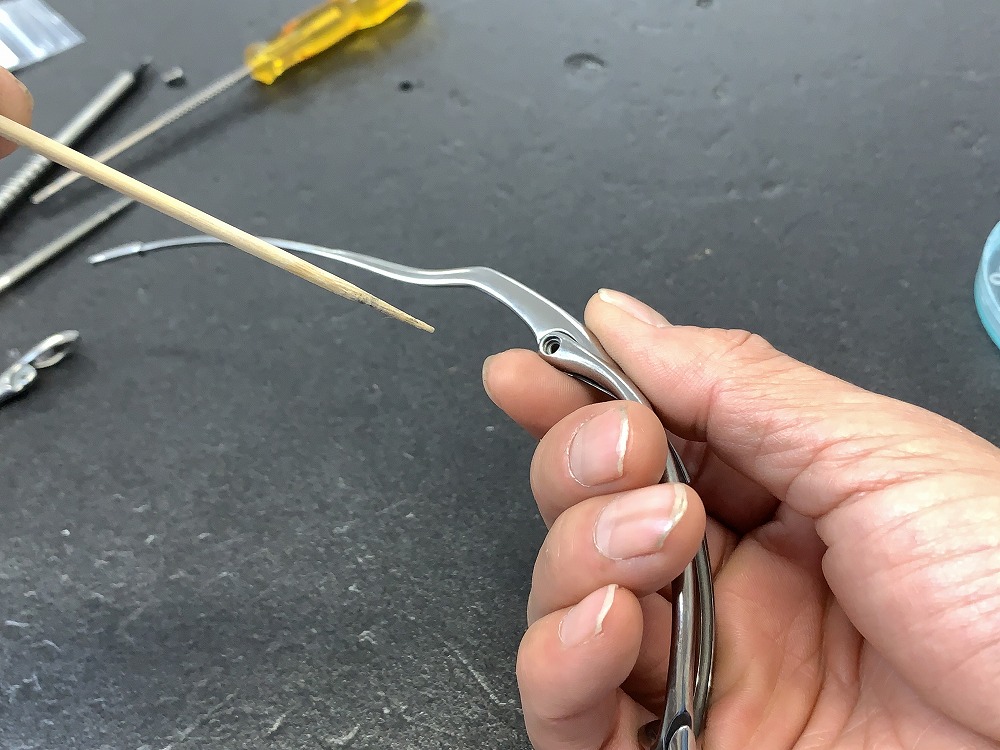
Before inserting the pin into the frame, lightly file the frame surface with a 'cylindrical file' as shown in the image below.
Be cautious not to apply too much force, as this may enlarge the hole and result in a loose pin. The goal is to remove surface dirt and smooth the frame's surface, creating a slight bevel to make it easier for the pin to enter.
This process is only for the back surface of the nose. Avoid touching the front-side holes of the nose at all costs.

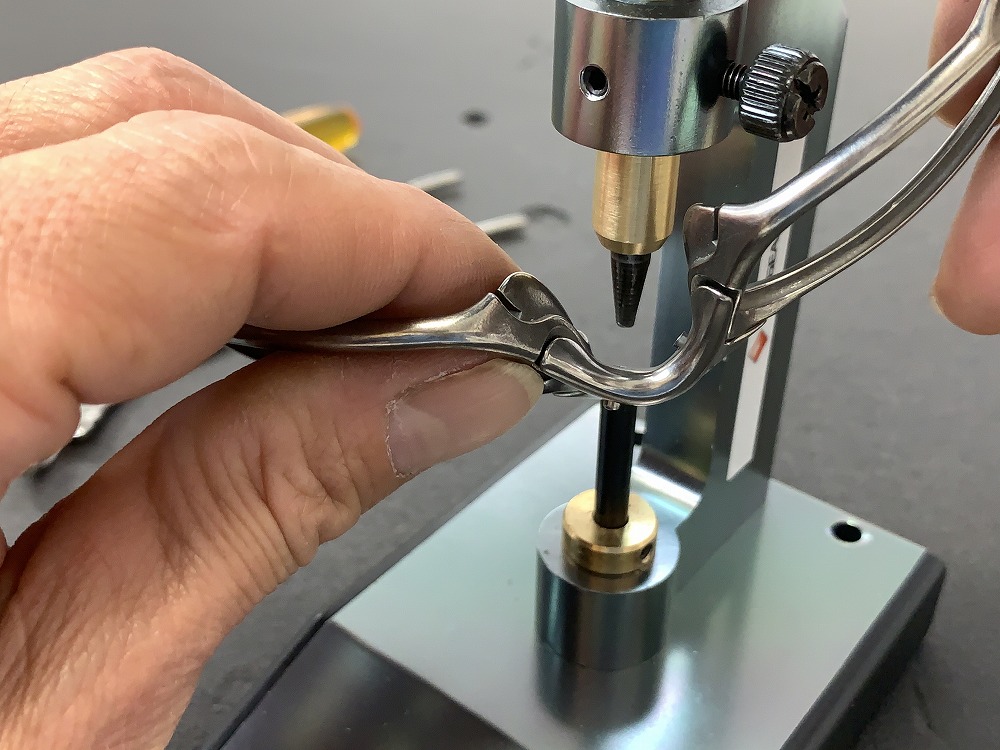
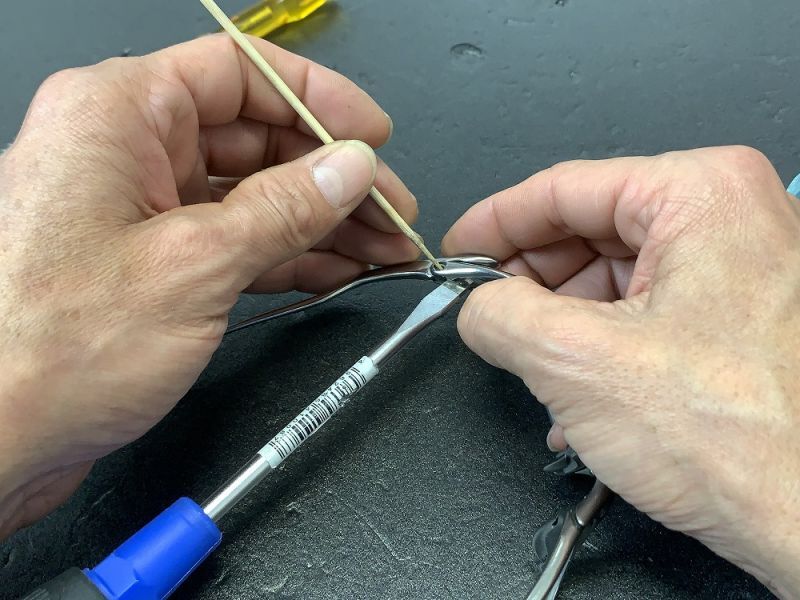
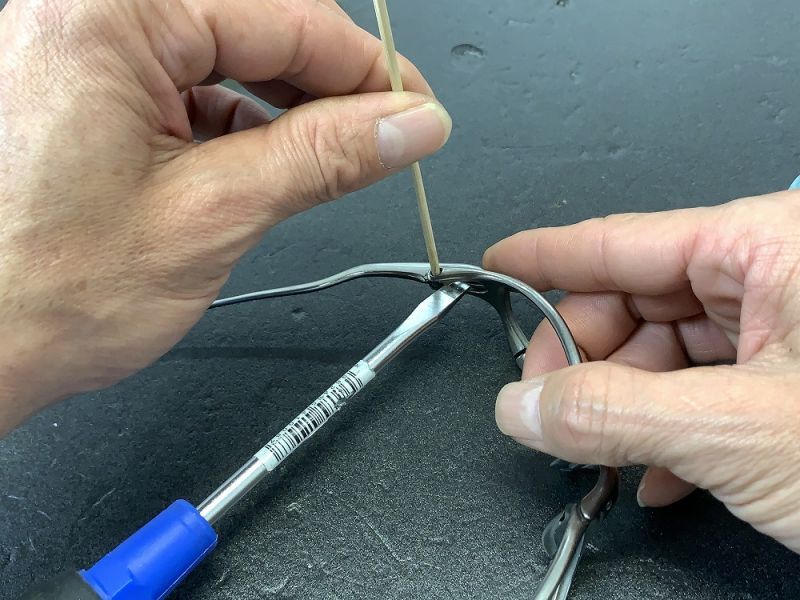
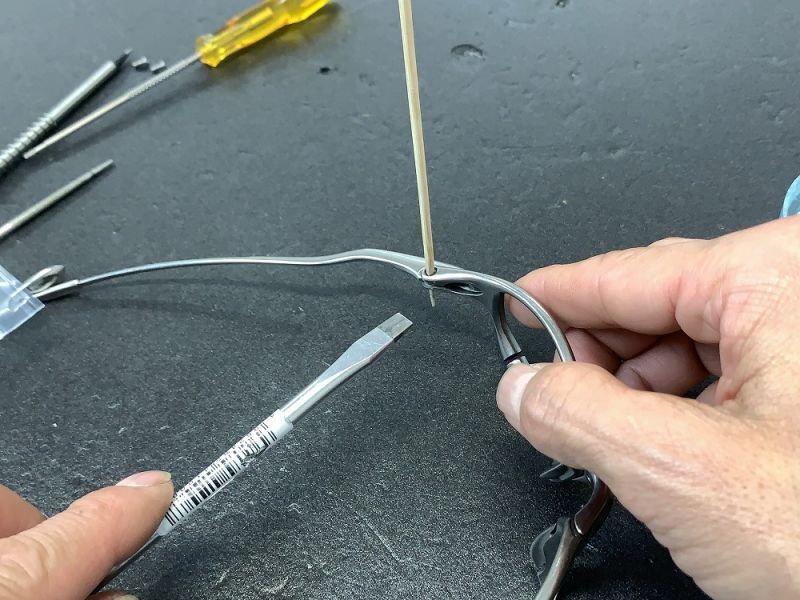
Afterwards, use a bamboo skewer to align the position of internal components straight with the upcoming pin insertion. Press the bamboo skewer firmly.
(This ensures that the pin goes in straight without interfering with internal parts, aligning them accordingly.)
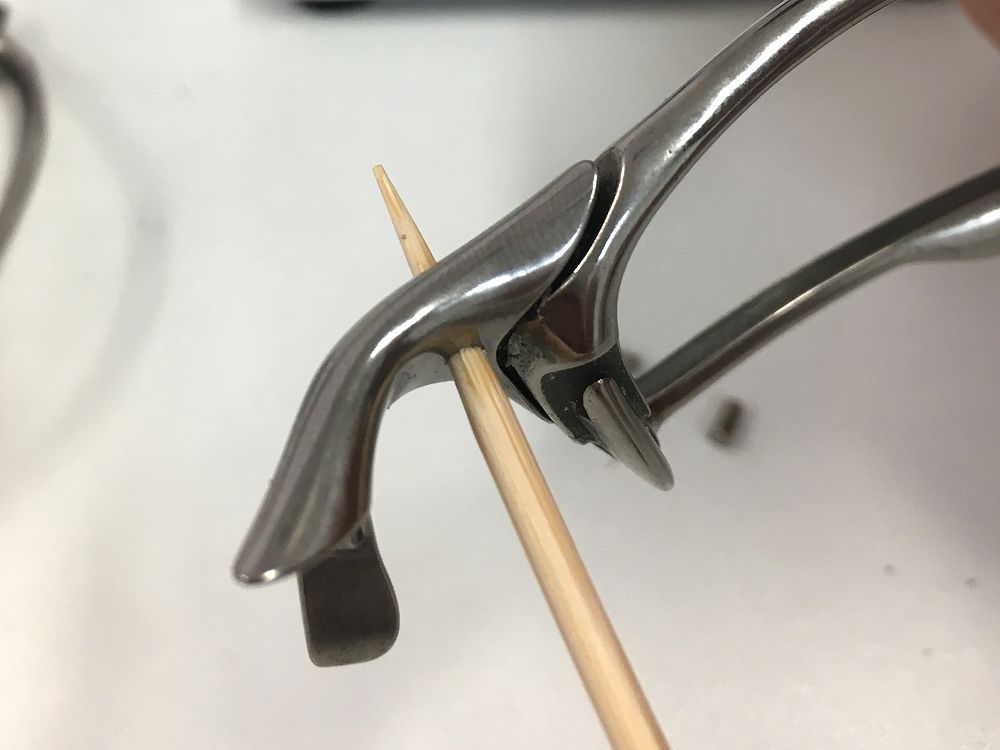

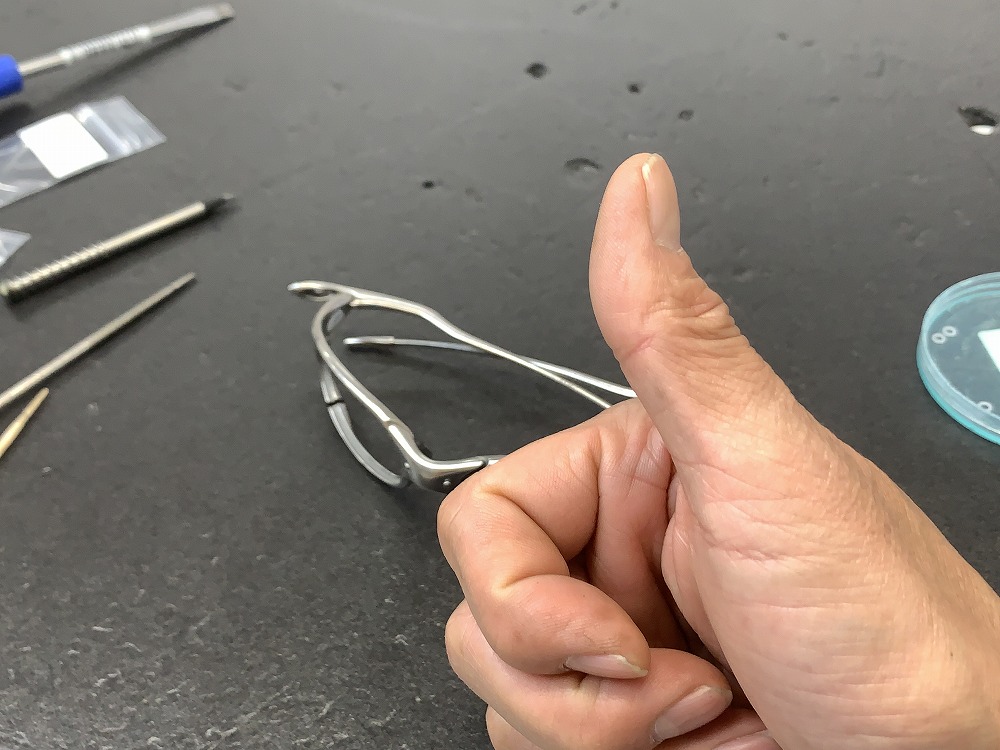
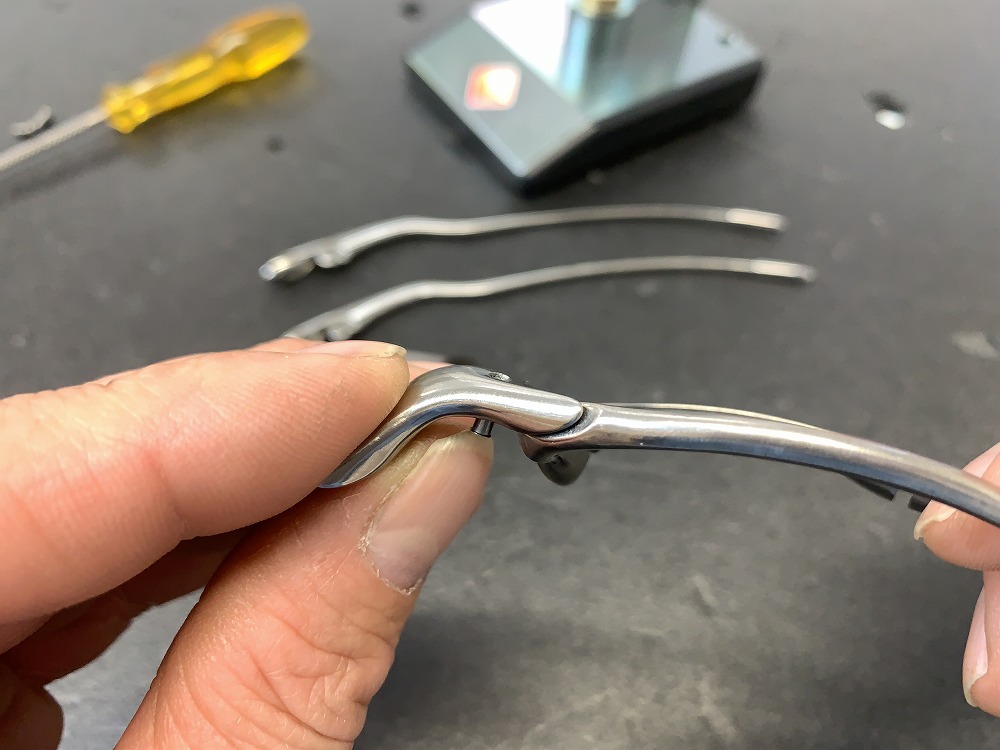
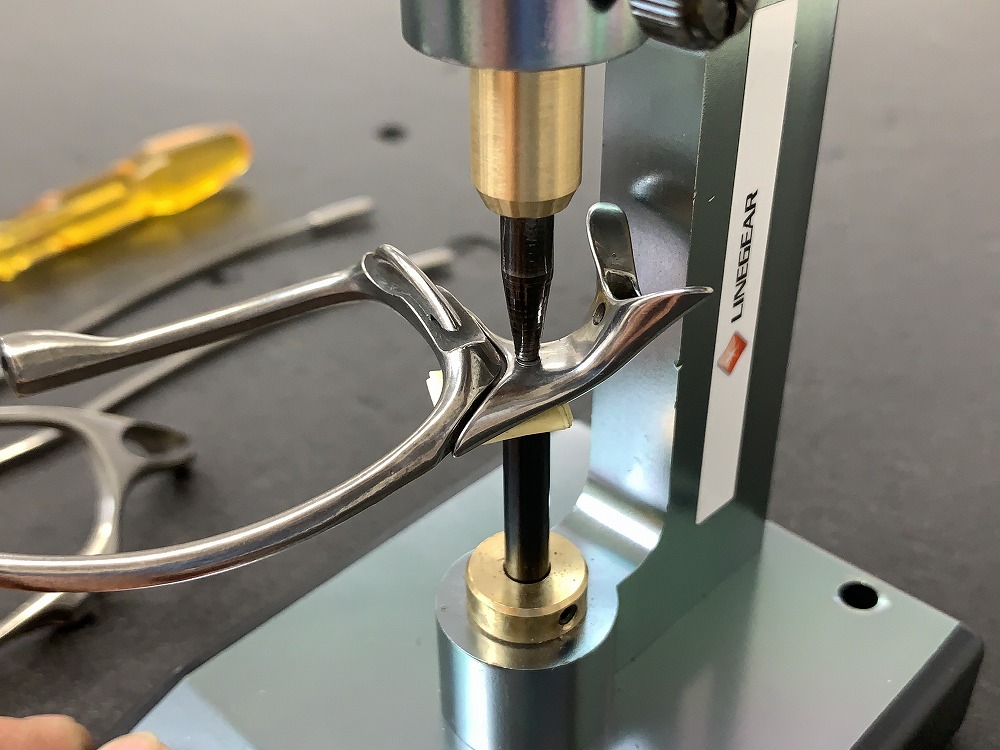
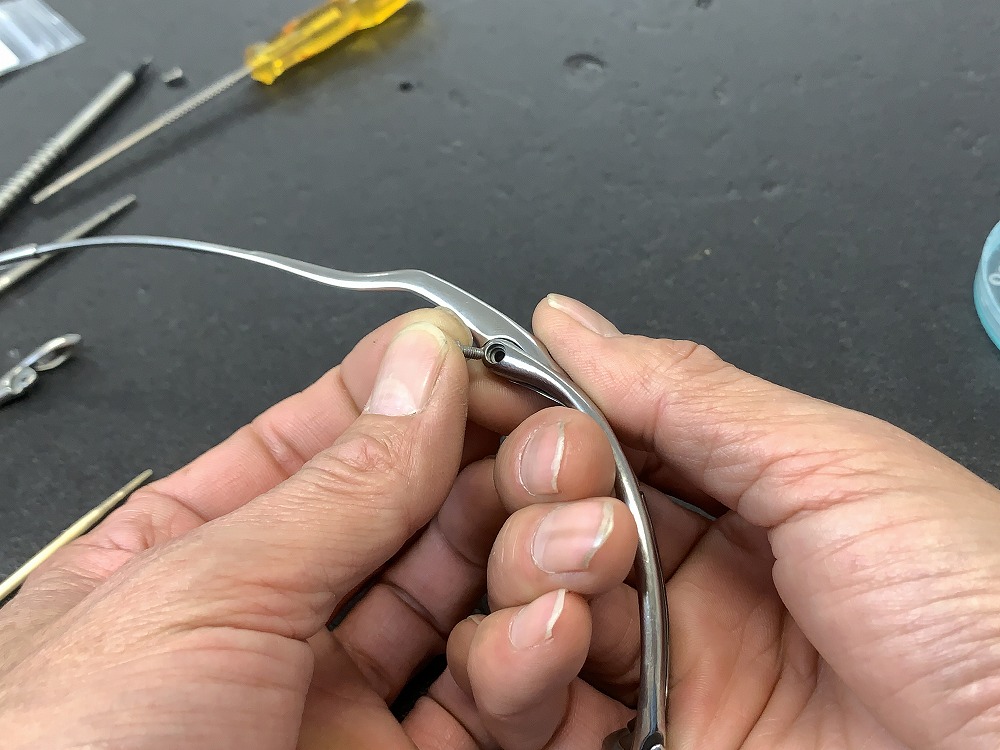
Slowly remove the bamboo skewer and manually attach the pin.
It should be pressed in by hand until it reaches a depth similar to the image below.

If the pin does not go in up to this point, it means that internal parts are interfering with the pin. In that case, realign them using the bamboo skewer once again.
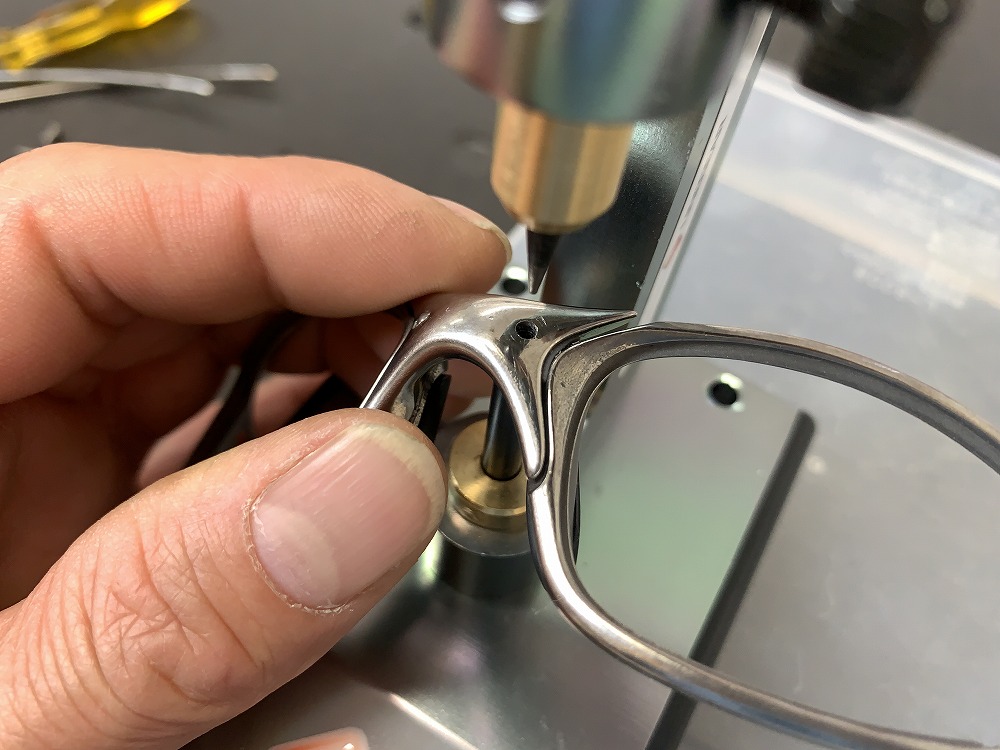
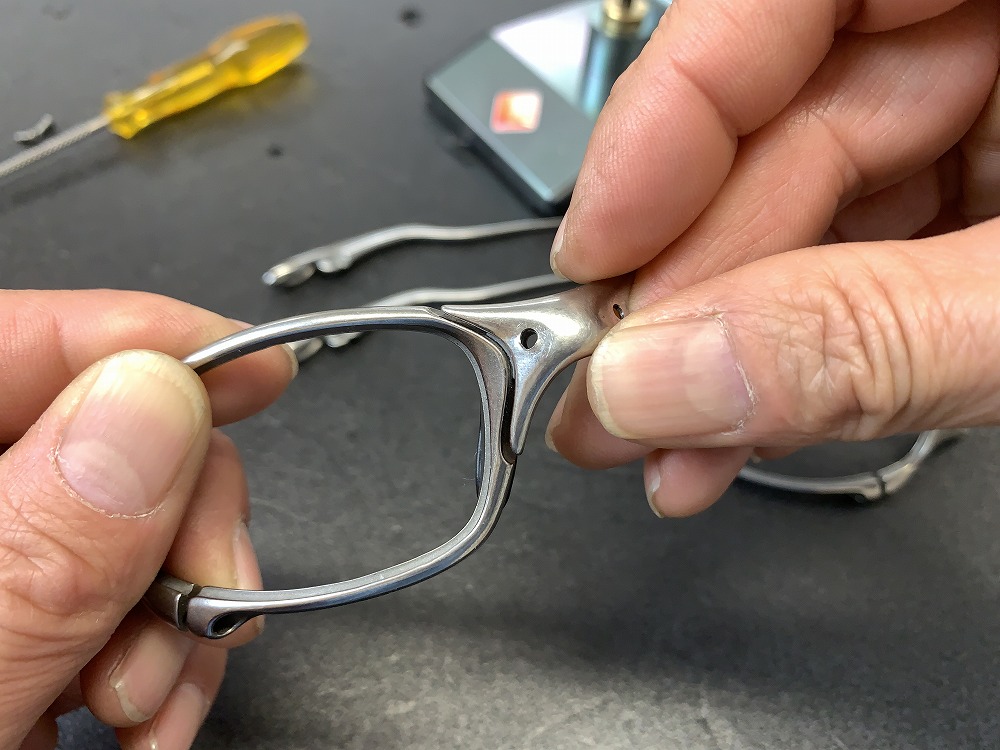
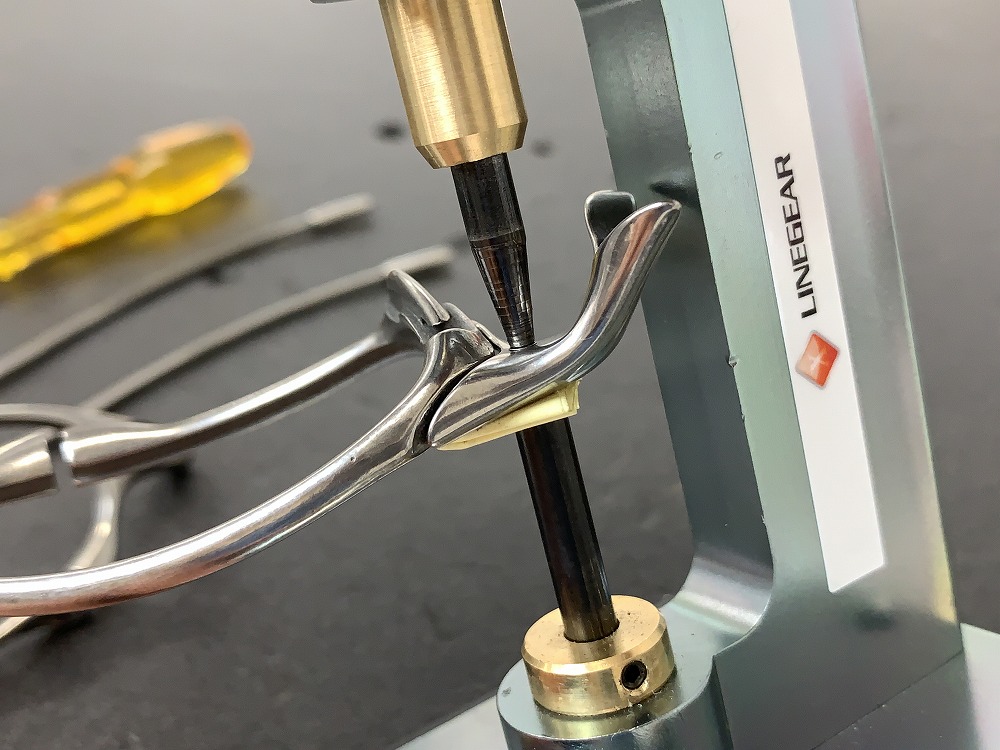
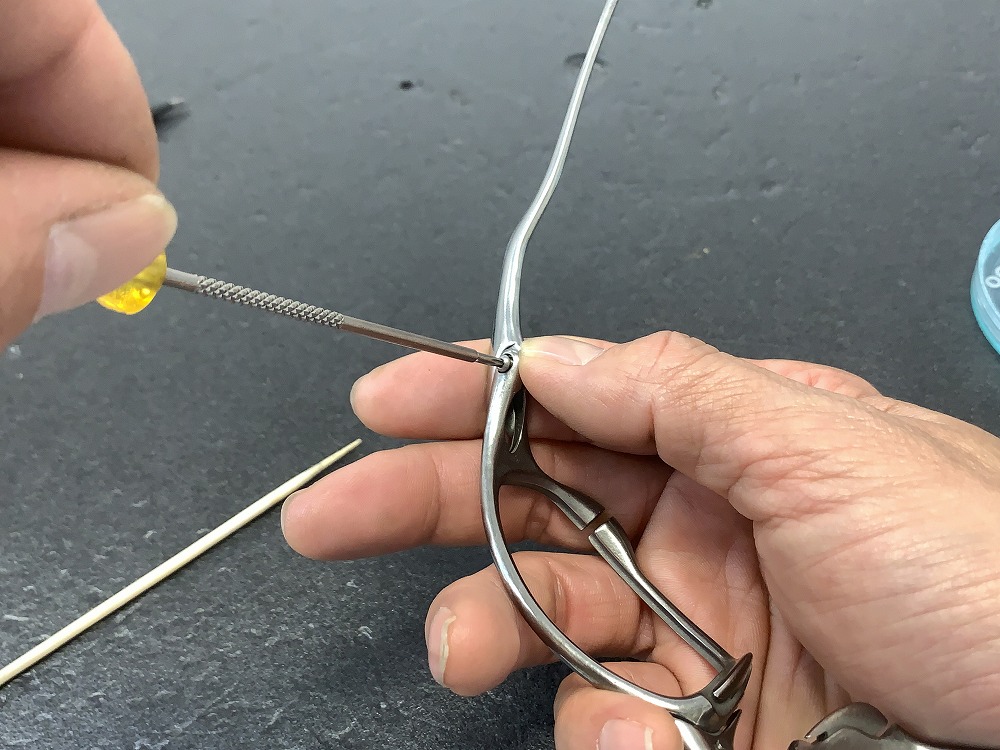
At this stage, visually confirm whether the pin is going straight into the hole on the front side of the nose hole↓
 This is the most critical point!
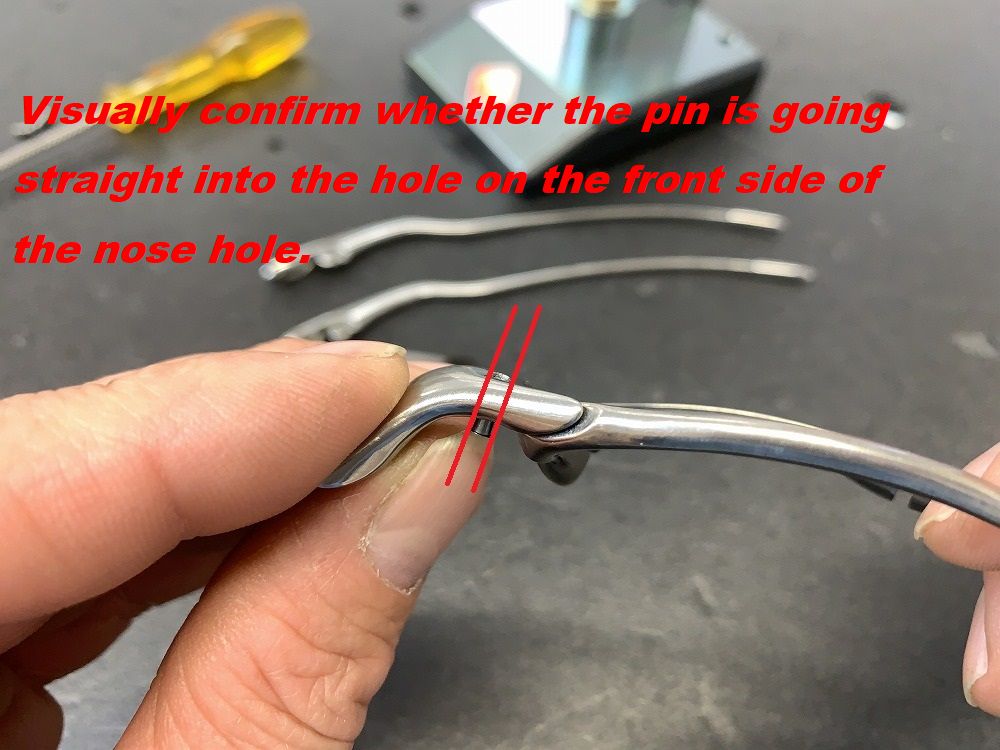
If the pin seems to be going in at an angle, no matter how much you press, it won't go in 
Please redo the bamboo skewer process once again.
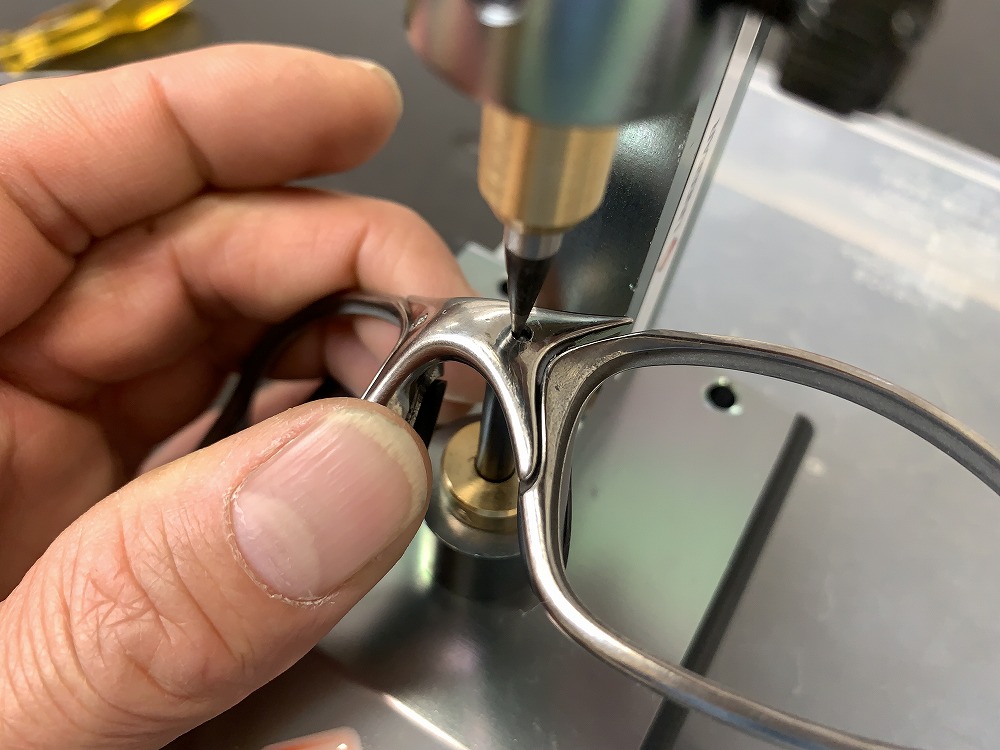
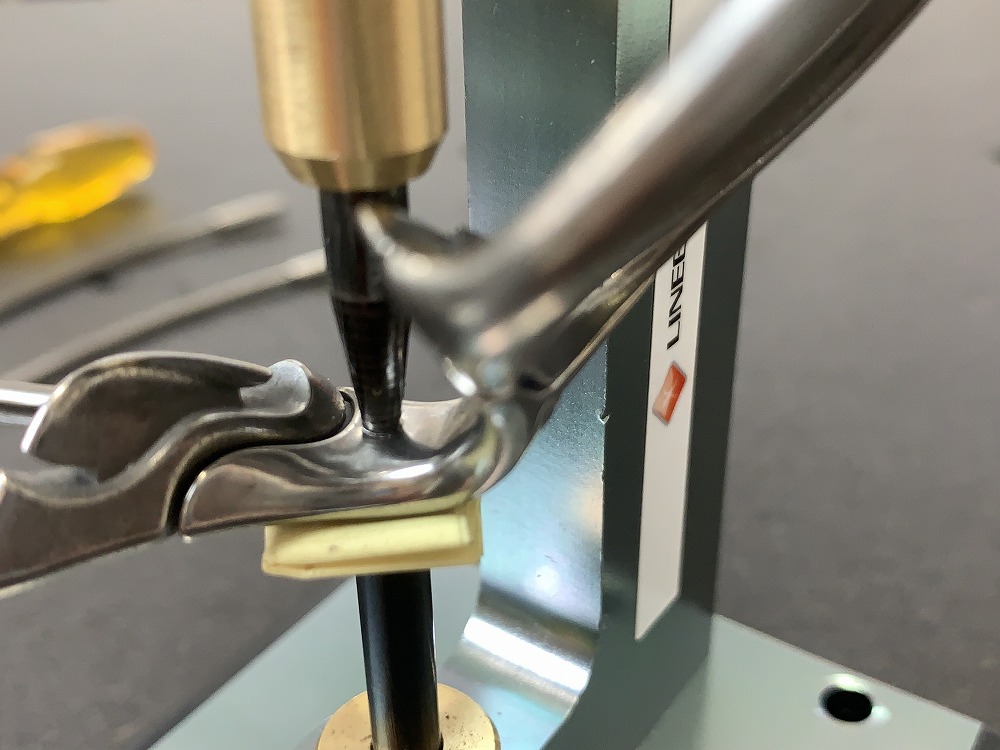
If you've reached this point successfully, the next step is to use the pin removal tool to press it in.
Using the pin pusher tool for pin insertion:
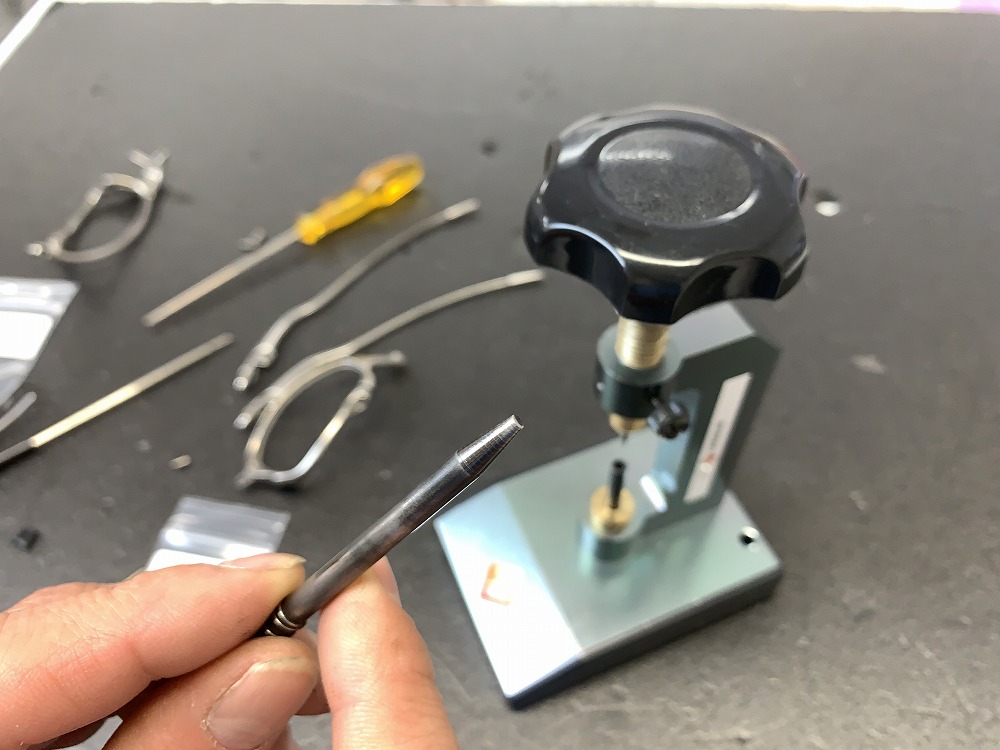
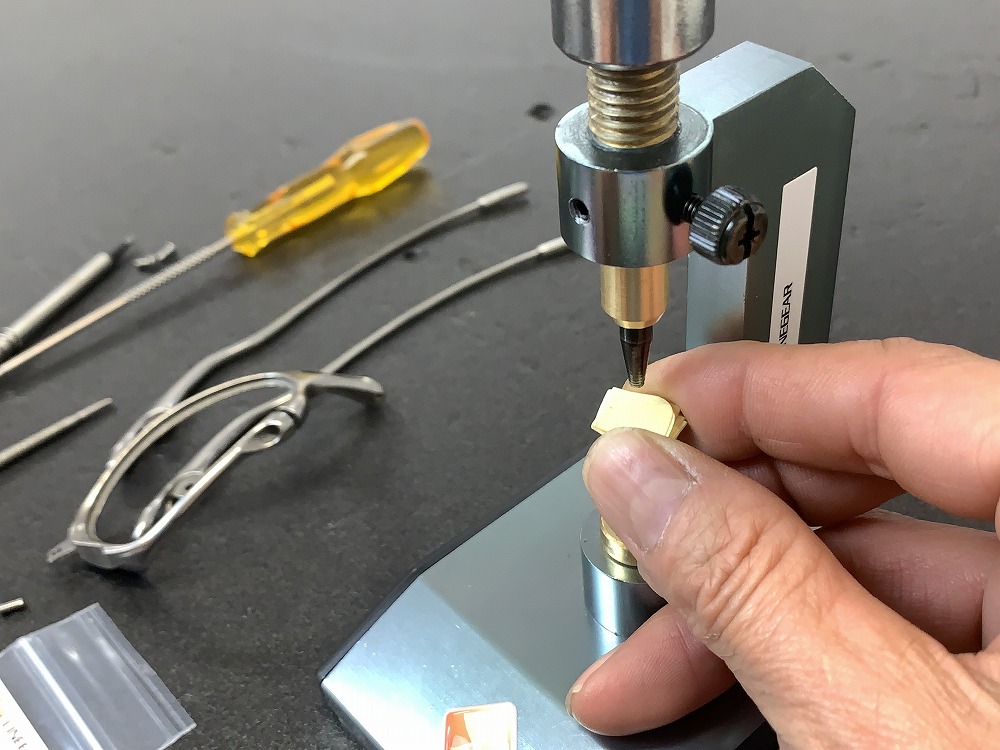
Replace the pin removal tool's rod with the dedicated pressing-in rod.
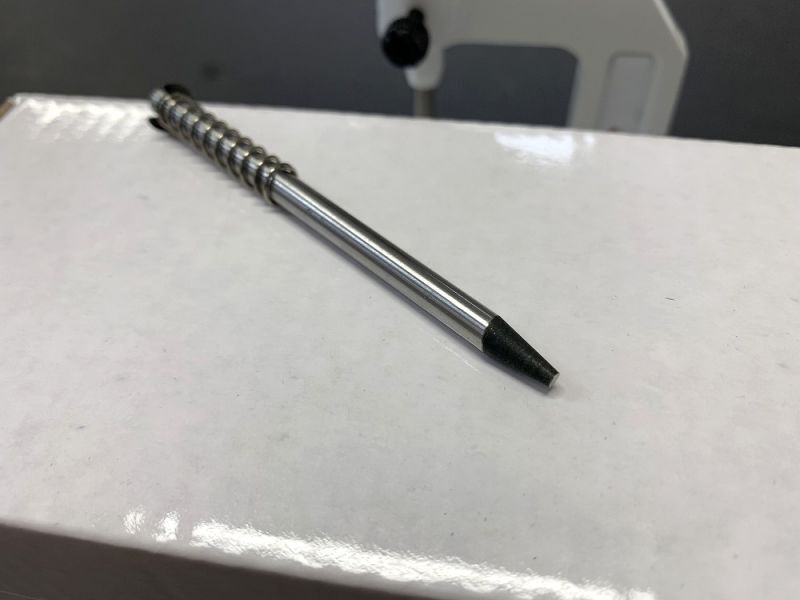


Replace it with the pressing-in rod that has a flat tip.
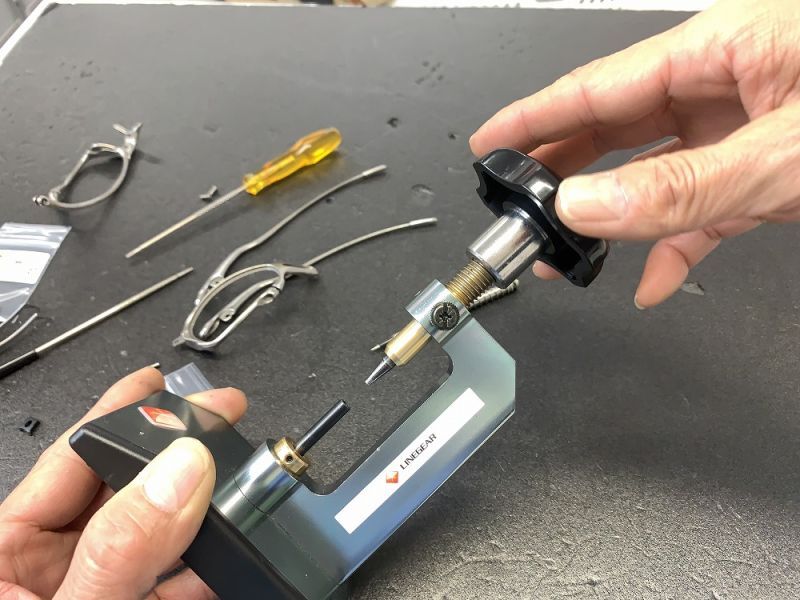
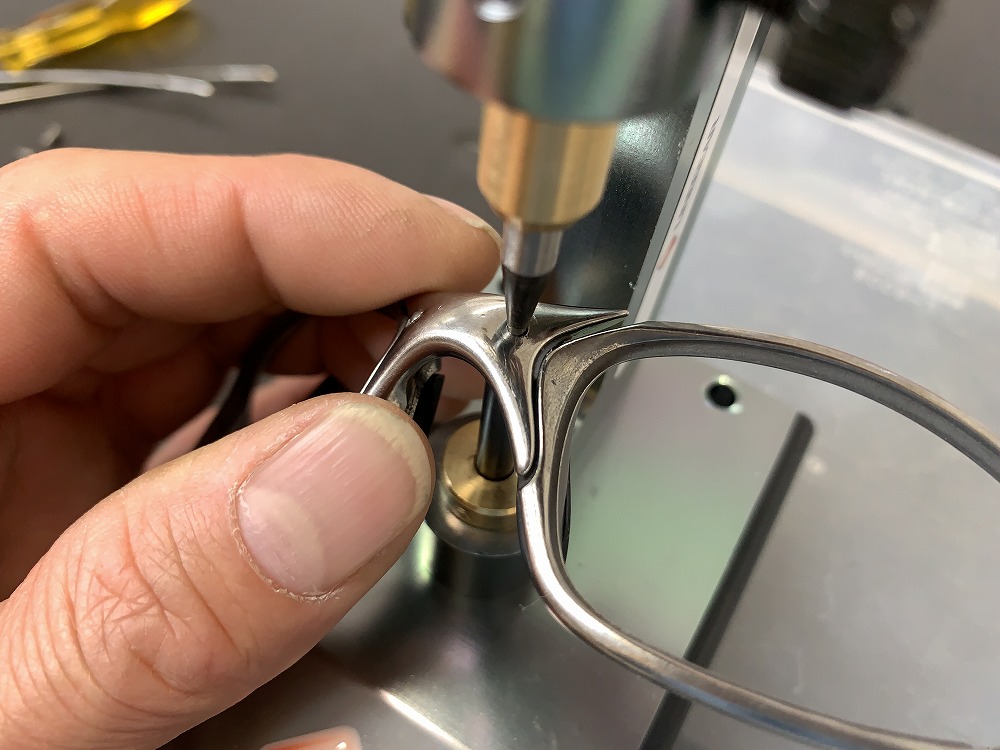
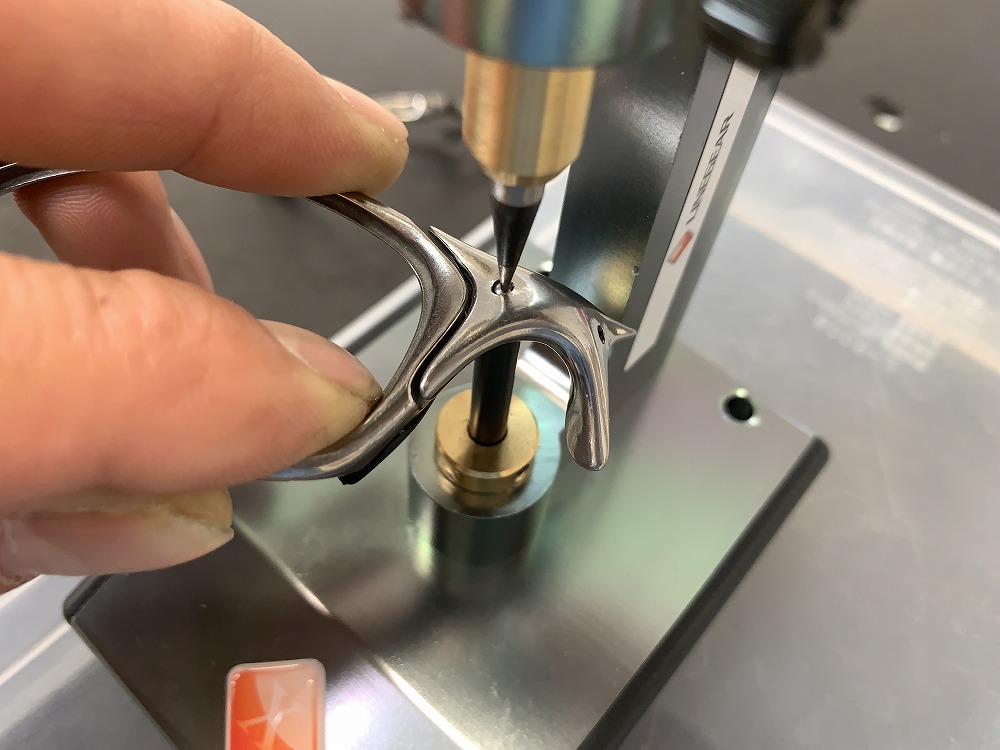
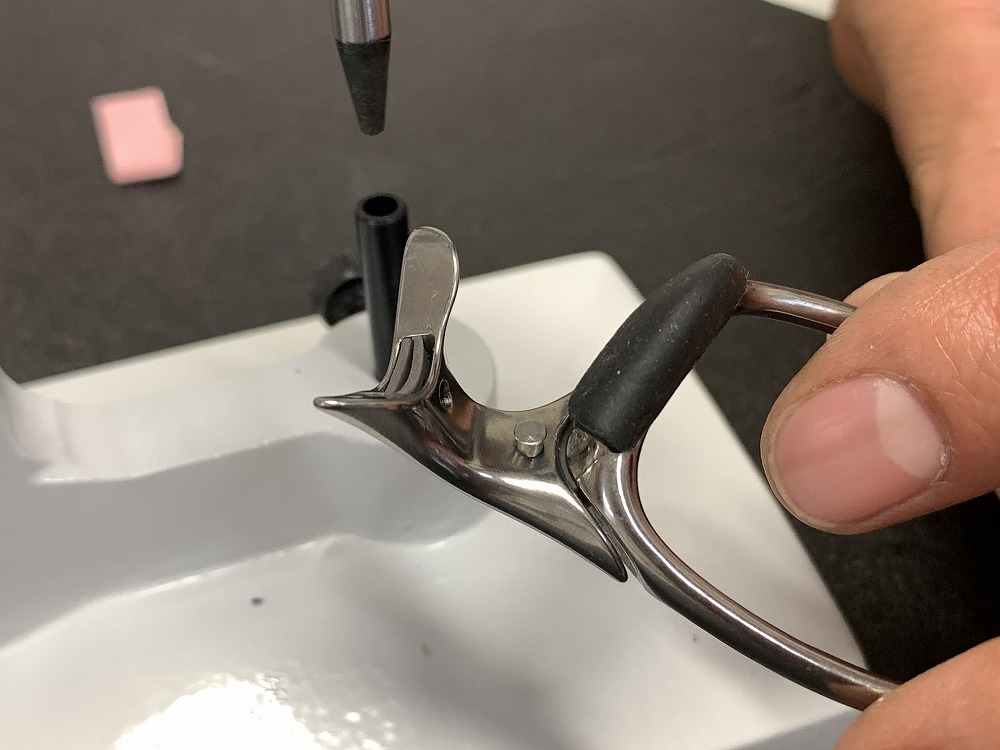
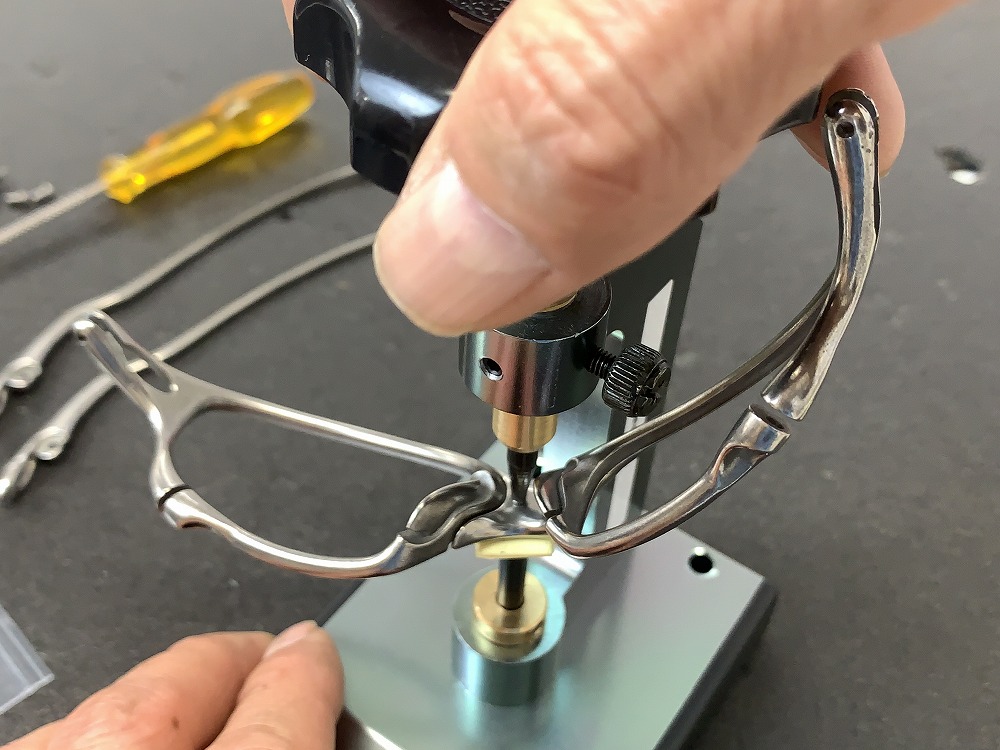
Now, let's finally press in the pin.
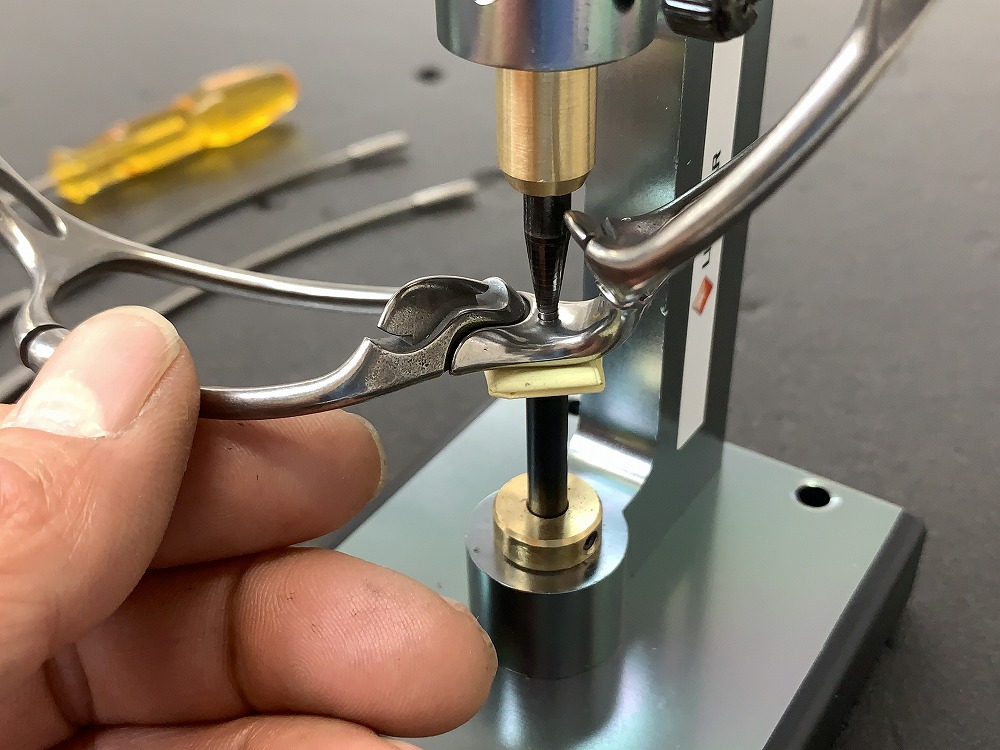
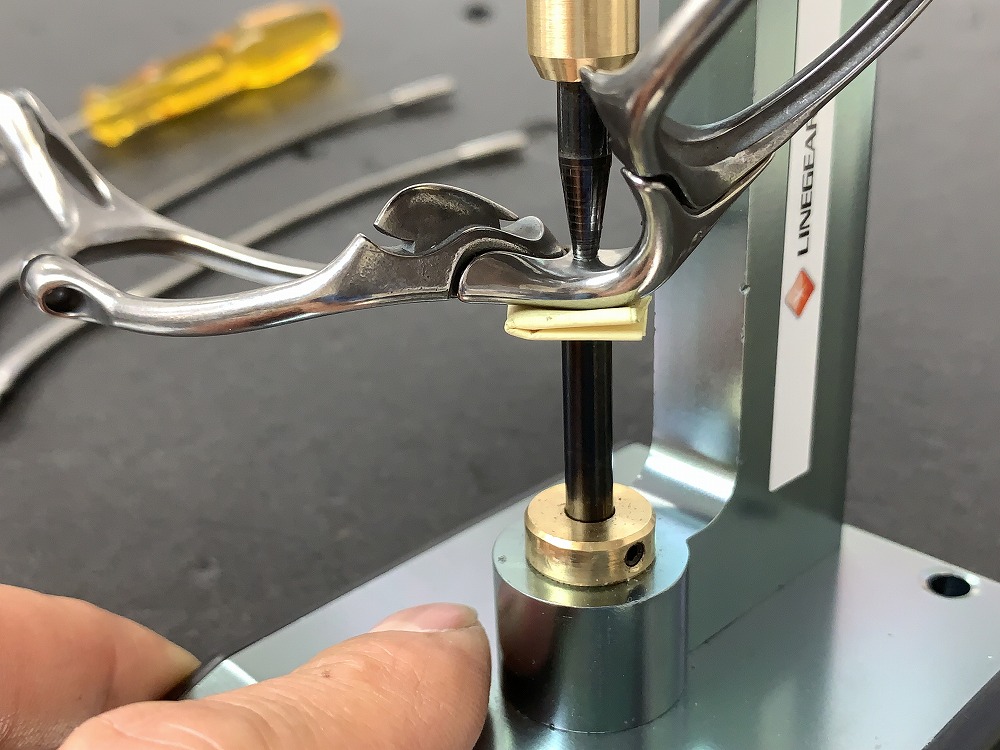
To prevent the frame from getting scratched, use folded post-it notes as cushions.
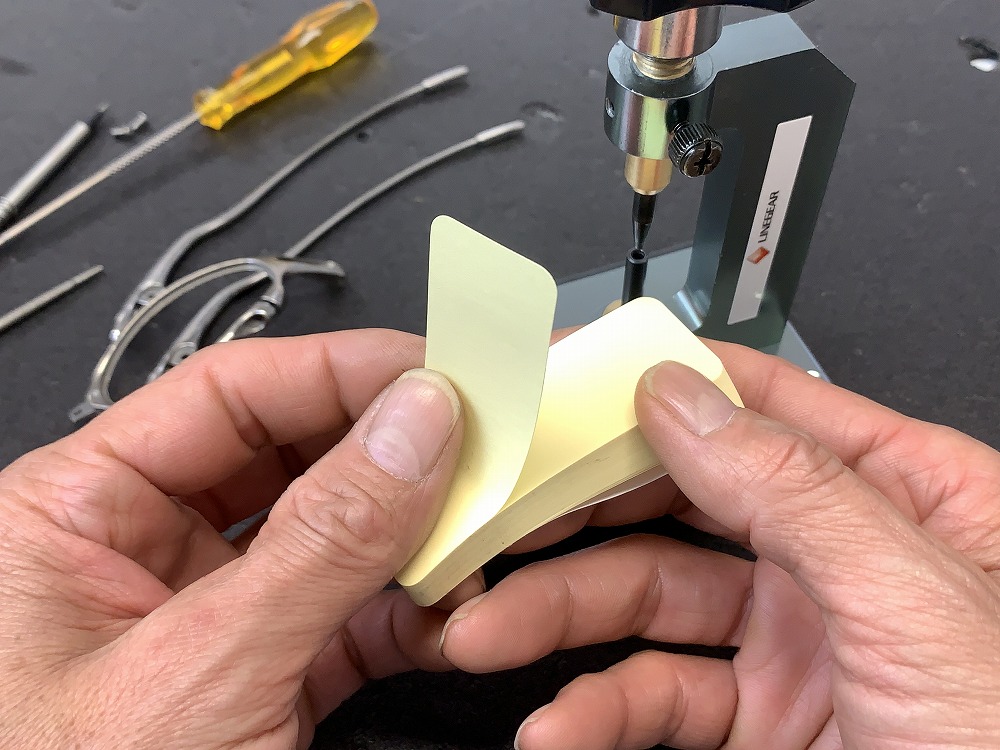
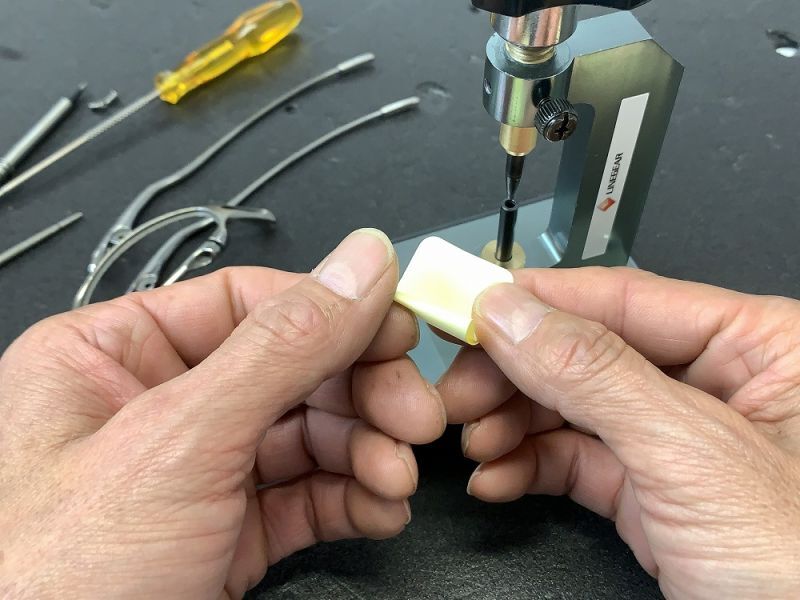
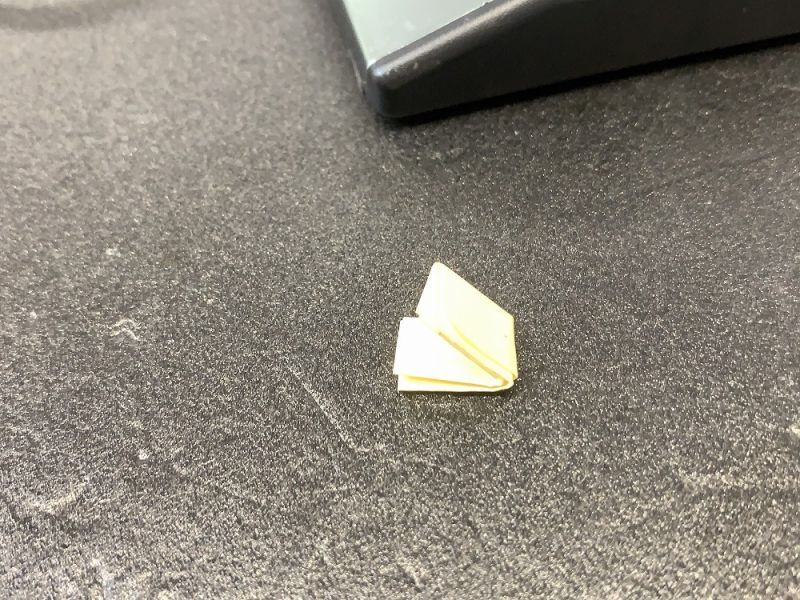
Use these folded post-it notes as a cushion, placing them underneath like this.
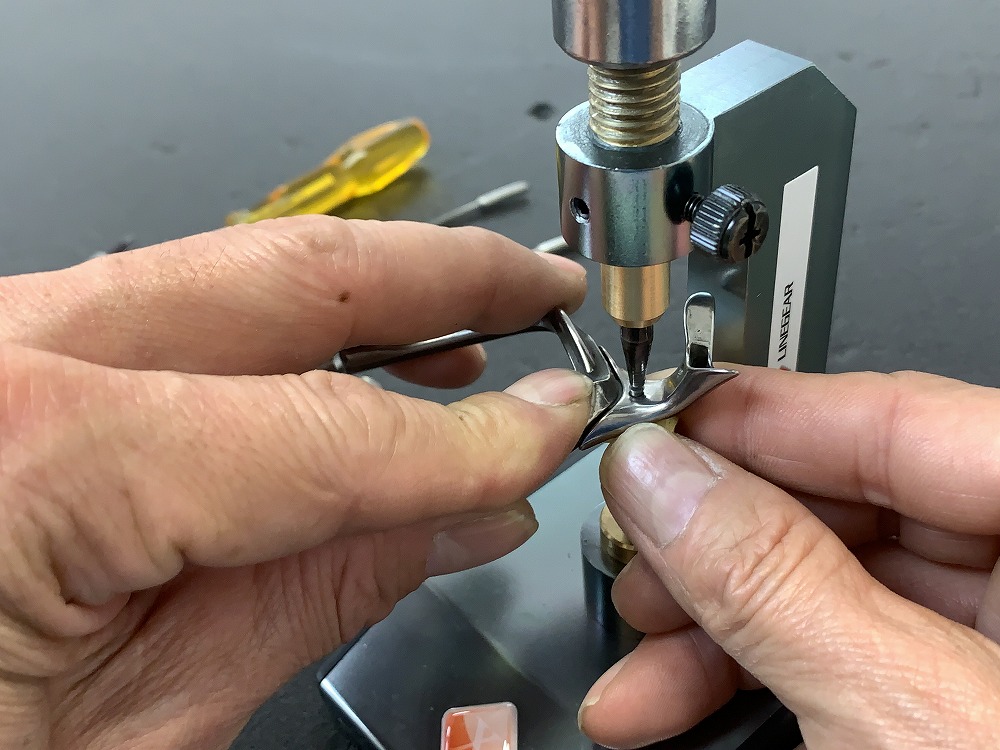
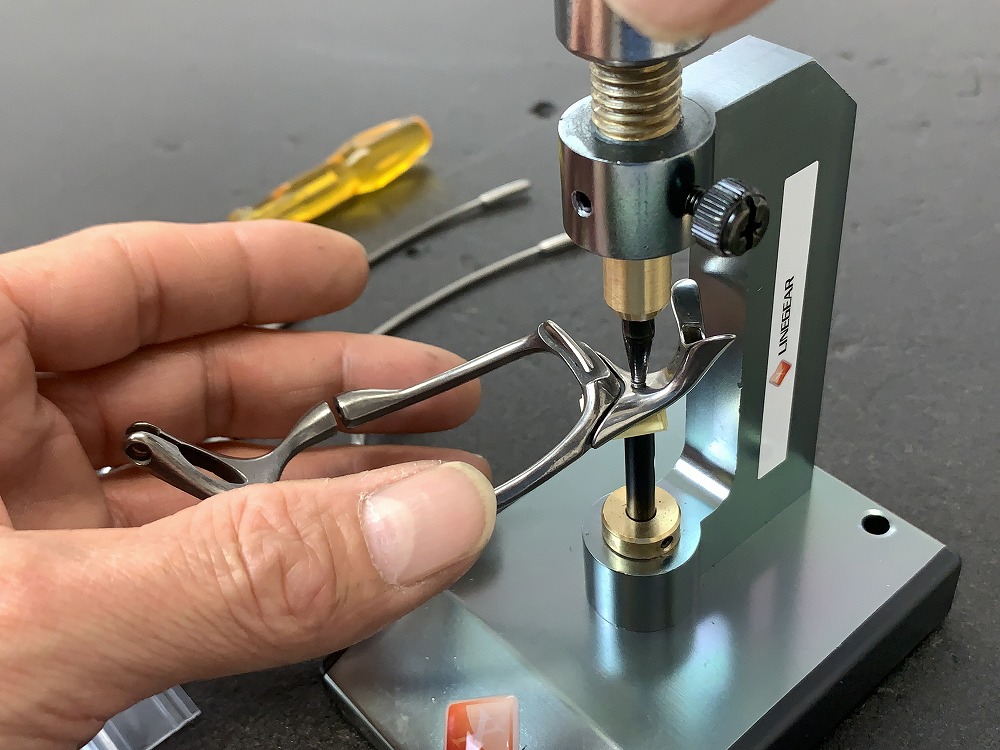
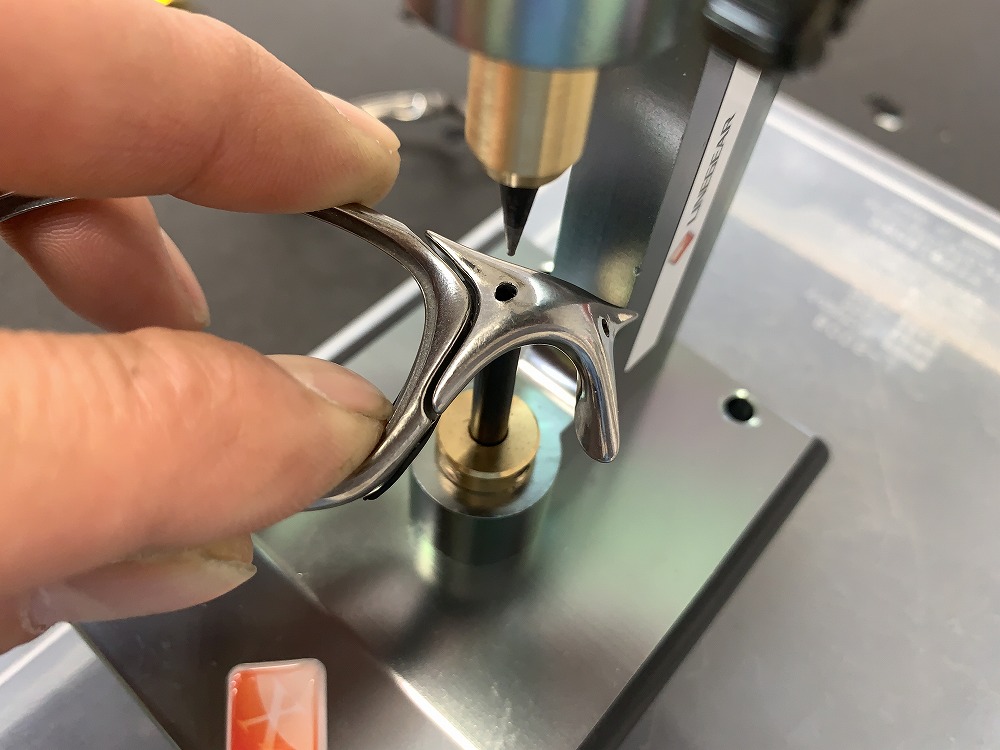
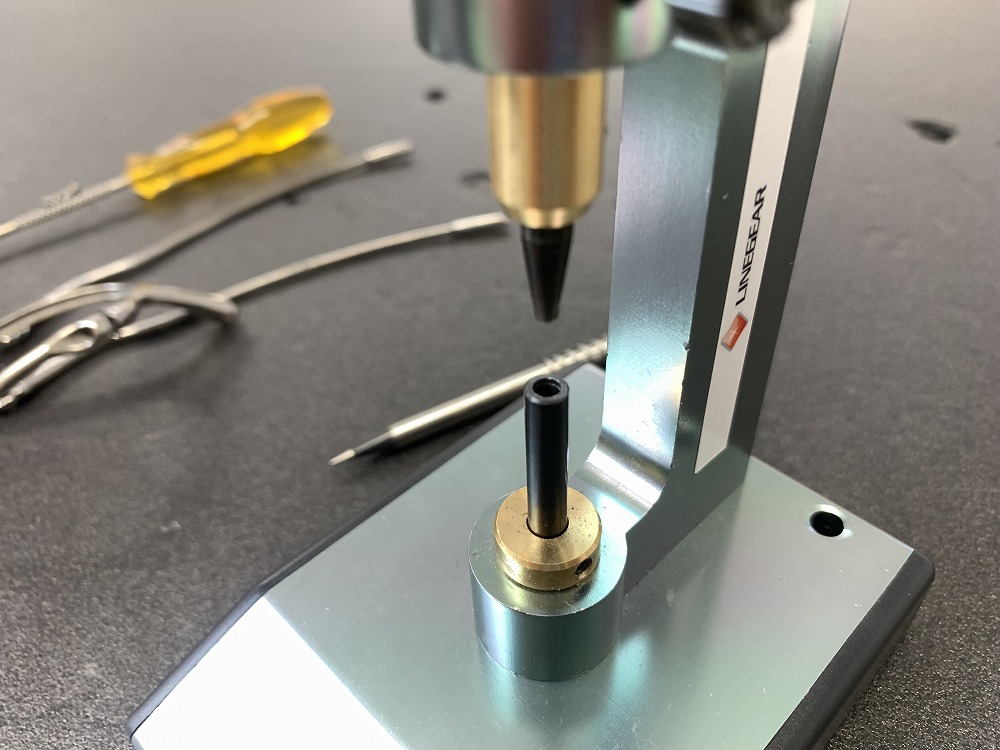
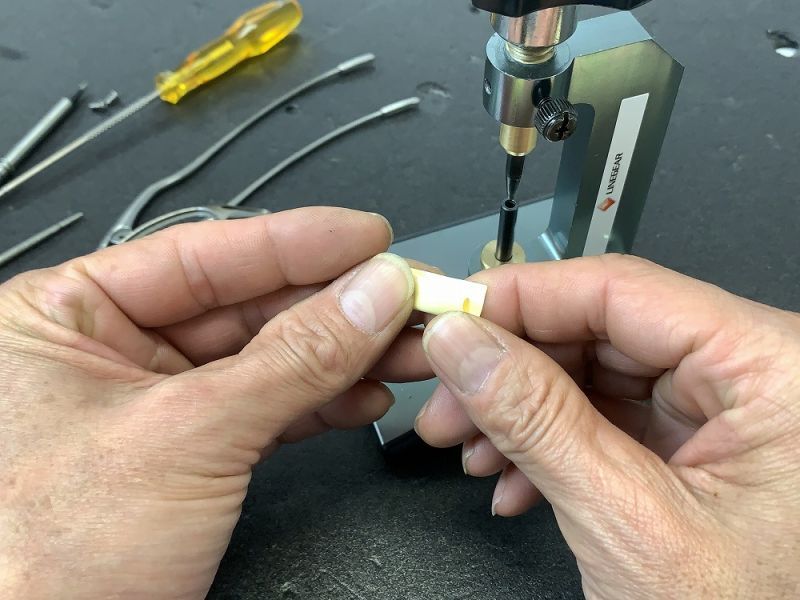
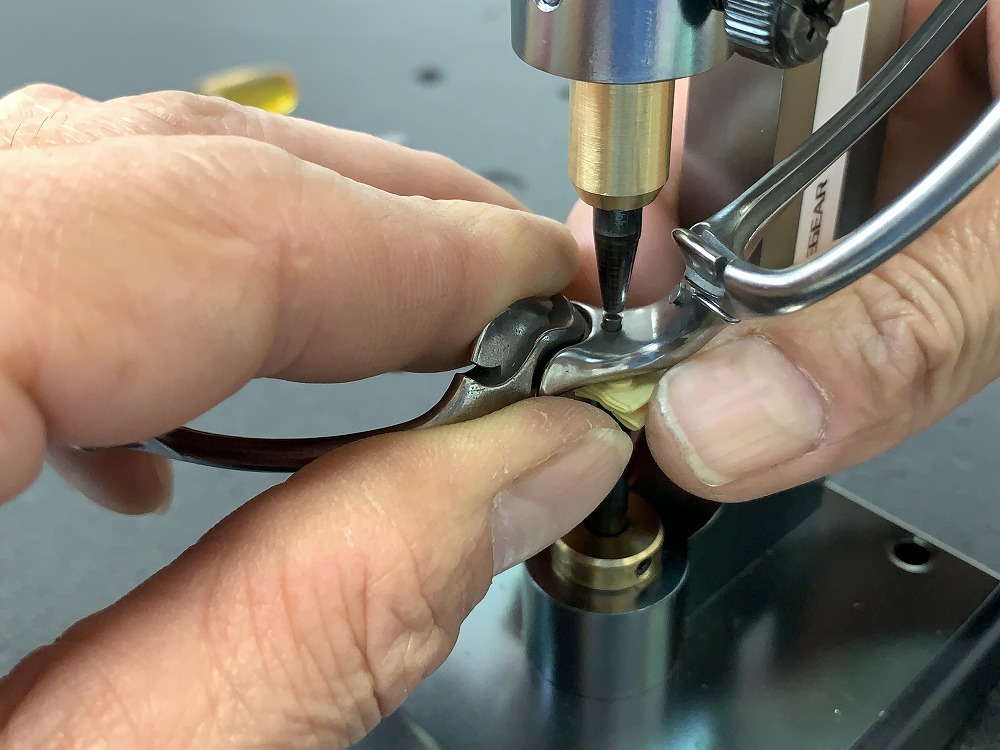
Slowly turn the handle of the pin pushert tool, gradually pressing the pin in.
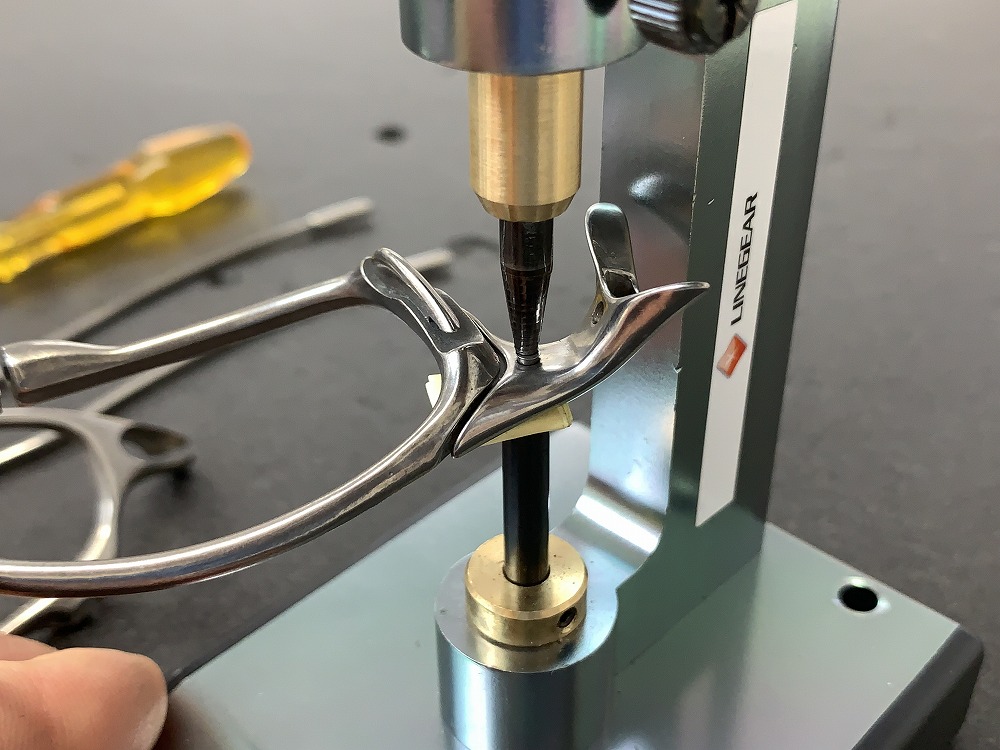
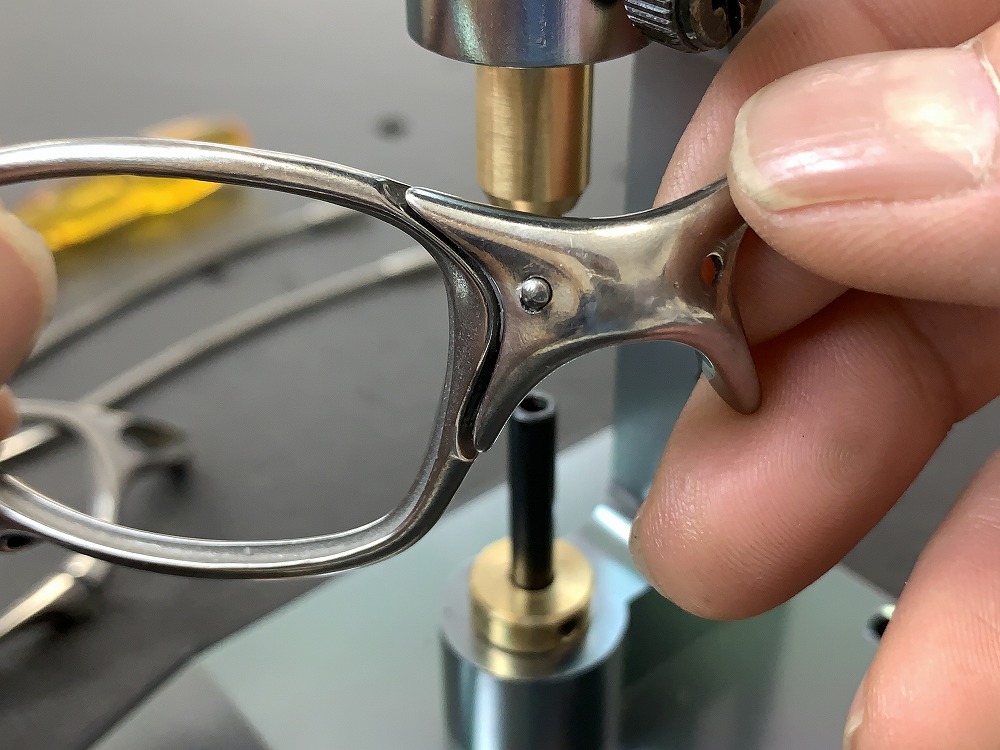
One side of the pin attachment is complete.
If the pin doesn't go in all the way, it may be due to the incorrect positioning of the pin tip, causing it to catch on the frame. In such cases, do not force it in. Instead, try reinserting the pin or firmly pressing the frame from both sides to improve the frame's adherence.
You may also consider repeating the bamboo skewer and cylindrical file process.
*If the positioning is correct, the pin should smoothly guide itself into the hole on the front side of the nose without the need for force.
Please proceed with the same steps on the opposite side.
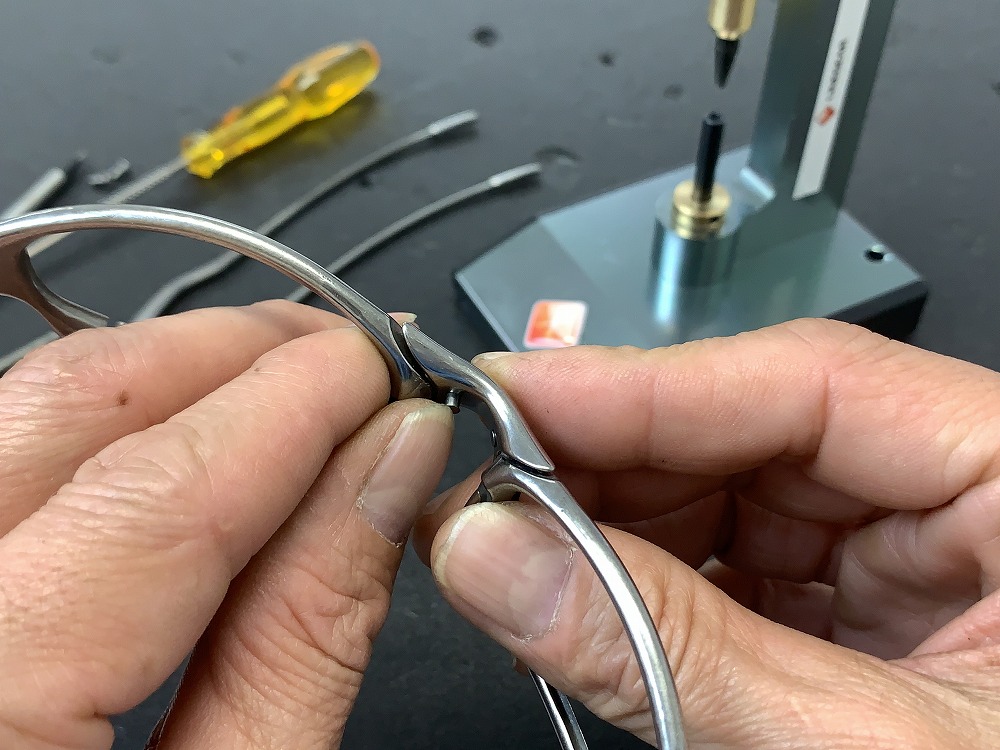


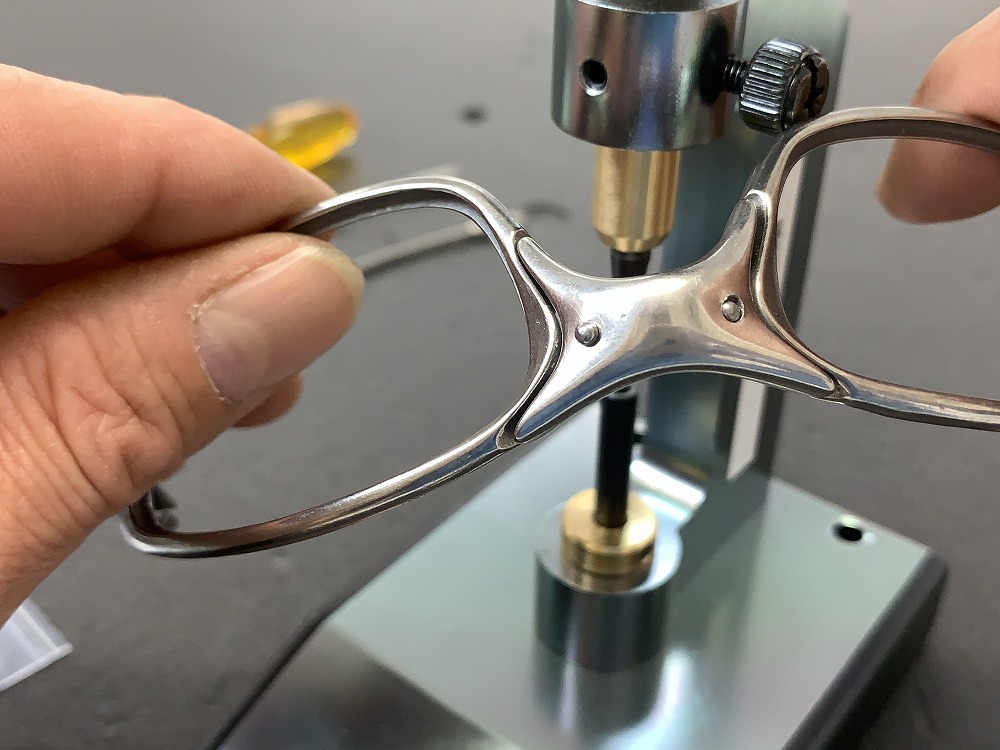

The nose bridge repair process is now complete.
If you push the pin too hard, there is a risk of it protruding through. Check the pressing depth gradually and proceed with caution.
If you haven't followed the outlined steps correctly, it may lead to failures, so please read carefully and approach the task responsibly. Please note that our store does not provide any guarantee for damages or scratches caused during the process, so handle the repair carefully at your own risk.
Although the explanation is lengthy, these are the detailed steps for replacing the pin using a pin removal tool.
As an additional note, based on our experience, there can be individual differences in the size of the space to attach the nose bridge on different frames.
In some frames, even after replacing the nose bridge with a new one, there may still be a slight looseness due to the larger space. On the other hand, in some frames, simply attaching the nose bridge rubber parts can provide a very secure and tight fit.
It's not just about the size or hardness of the nose bridge rubber parts, but also about the individual differences in the internal space of the frame, leading to varying post-repair sensations. Please keep this in mind.
For information on replacing other parts, please refer here
How to Replace Each Parts - LINEGEAR (linegear-japan.com)
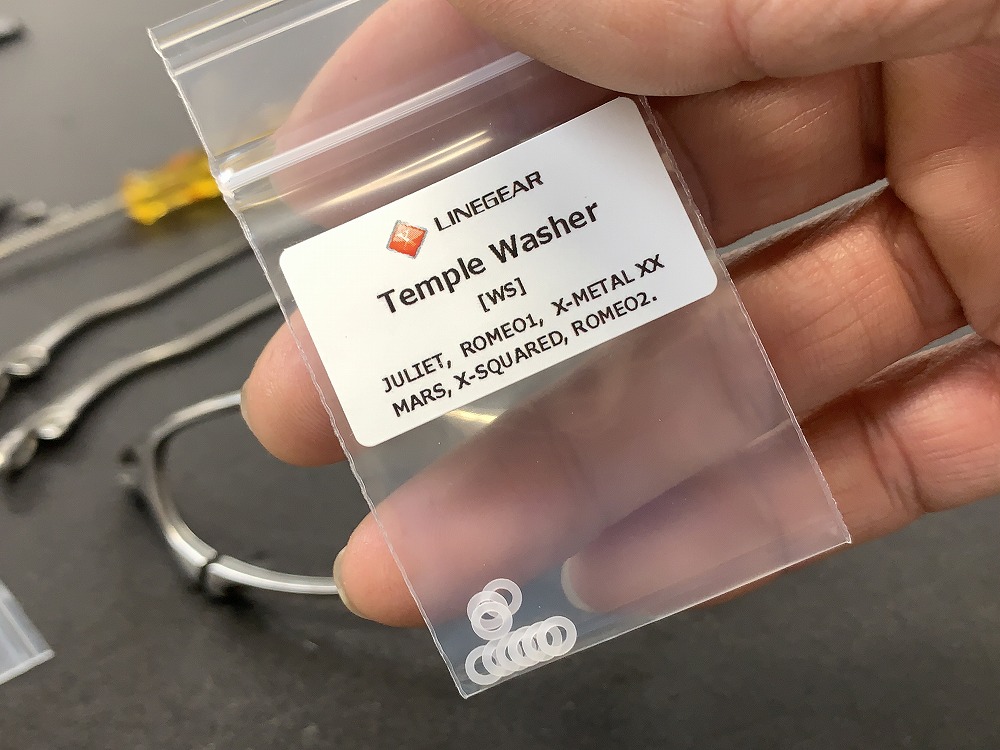
Installation Procedure for Temple Washers
Temple washers:
Temple Washers for JULIET (10 pieces) - LINEGEAR (linegear-japan.com)
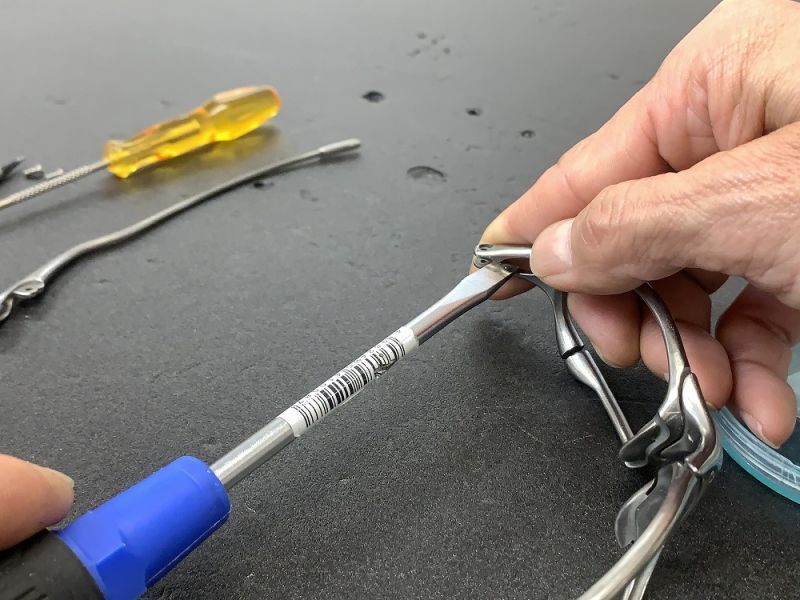
Inserting a flathead screwdriver into the frame to widen the gap.
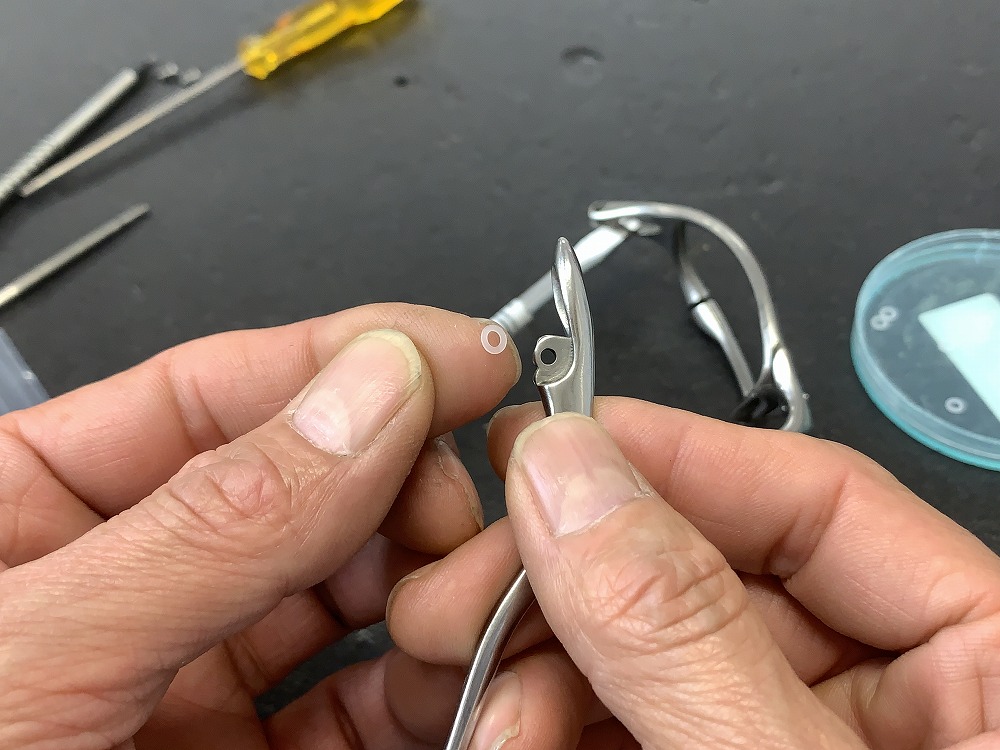
Place one washer on top of the upper arm and another one underneath. Dipping the washers in water a bit can help them adhere to the frame.
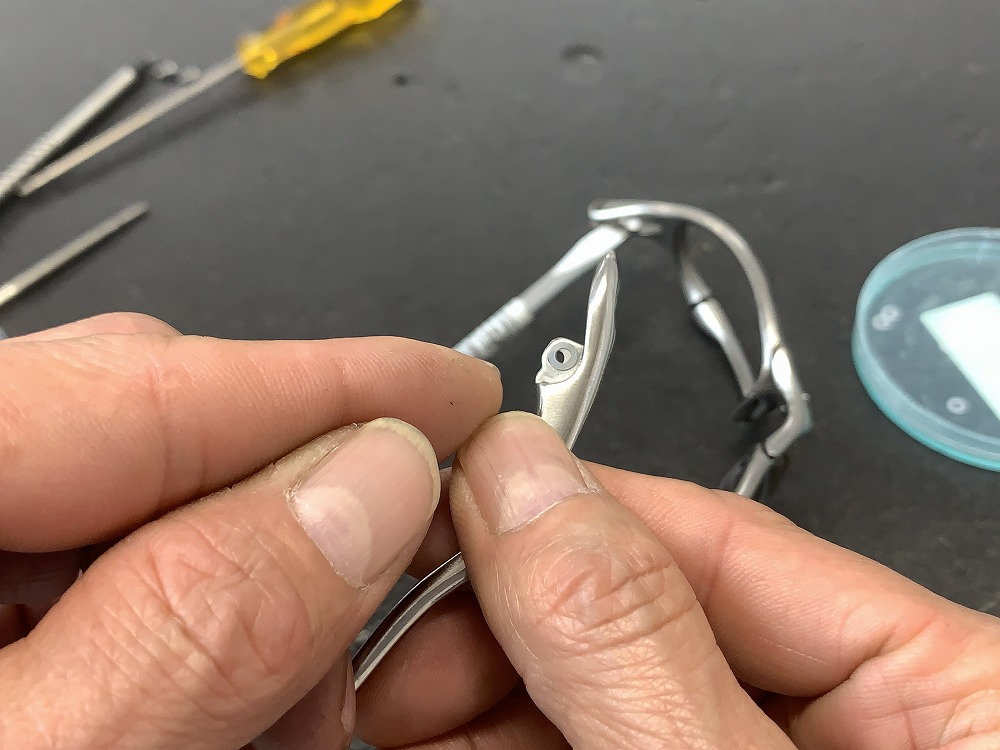
Place one washer on the opposite side (backside) as well.

Insert a bamboo skewer to align.
Remove the flathead screwdriver.
Proceed to attach the temple screws.
Pull out the bamboo skewer.
Install the screw.
Tighten it with a T6 screwdriver.
Please perform the same procedure on the opposite side as well.
This completes the assembly of the frame.