Sign-in


ROMEO1 Lens Replacement: Method ①

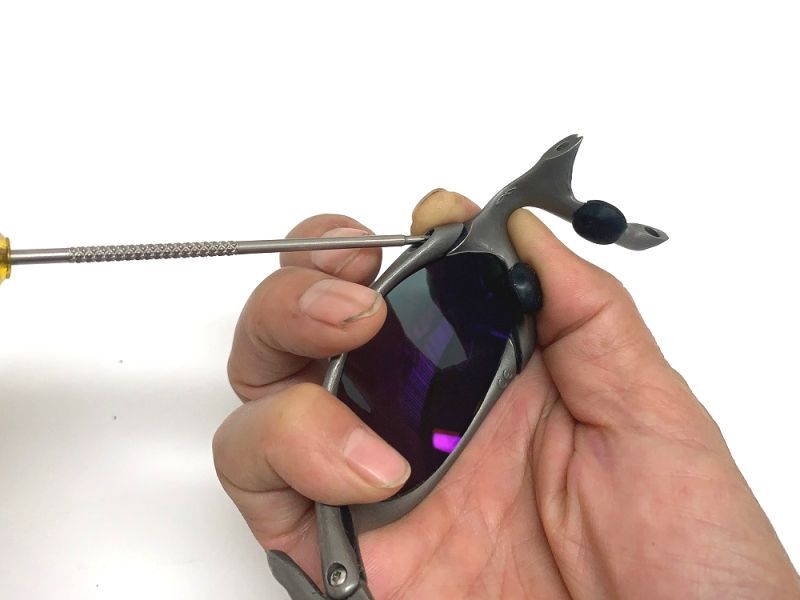
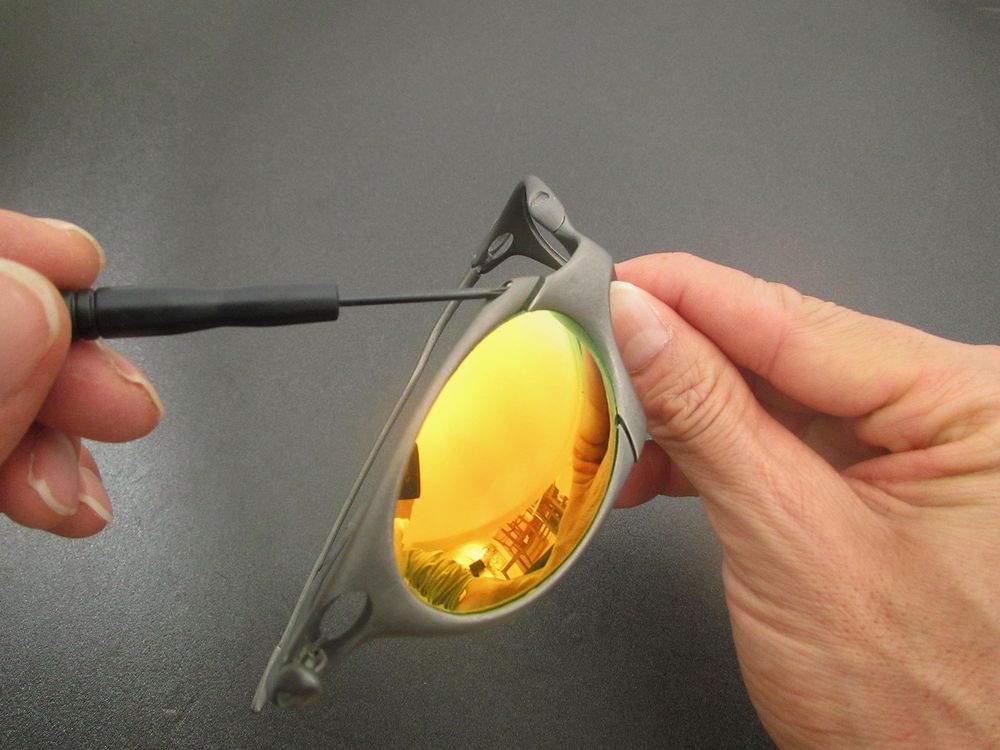
First, start by using a T6 screwdriver to remove the orbital screws at the top of the frame.

Once the frame disassembly is complete, proceed to attach the new lens.
Before attaching it, please ensure you check the orientation for lens installation.
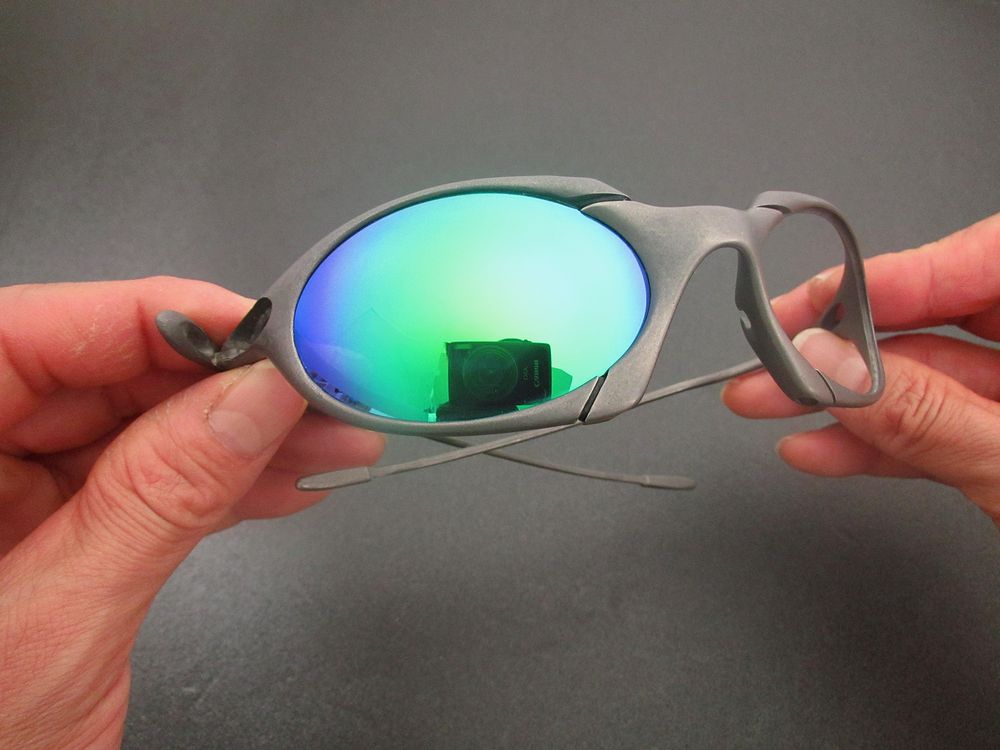
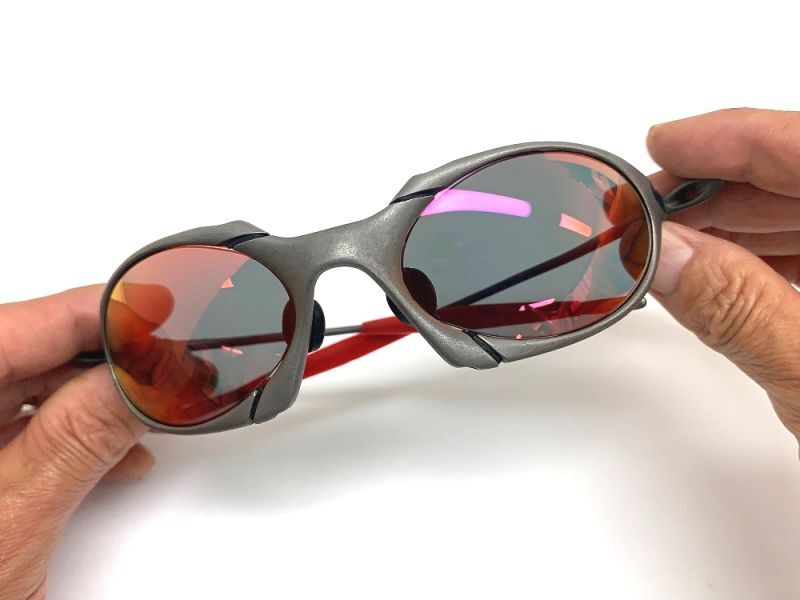
The ROMEO1 lens is elliptical in shape, but upon closer inspection, you will notice slightly protruding, angular parts.
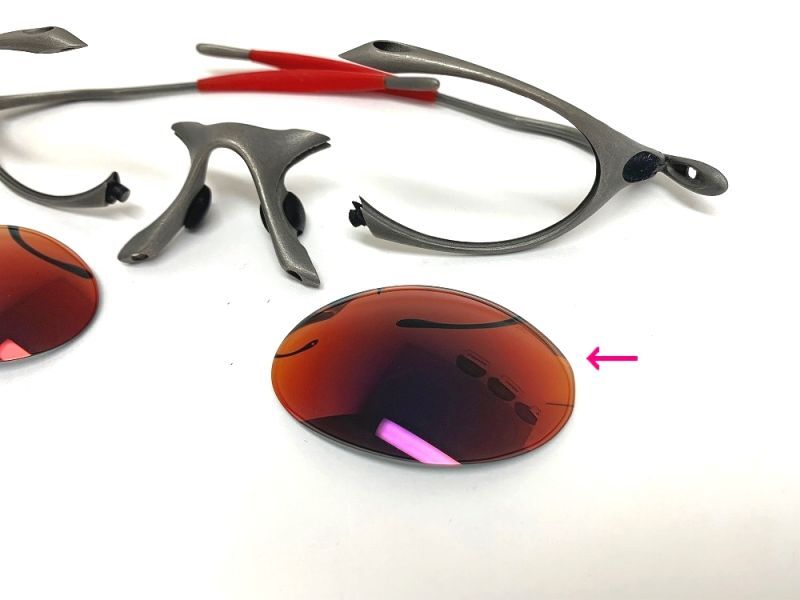
※OEM lenses also feature these angular protrusions.

Please ensure that these angular parts are installed on the upper side closer to the temple.
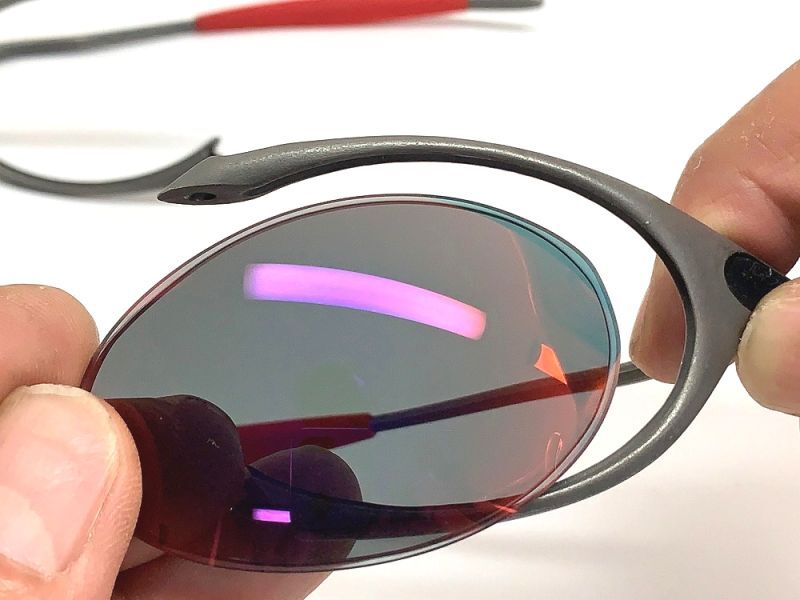
Once the lens is in place within the frame, the next step is to attach the nose bridge.
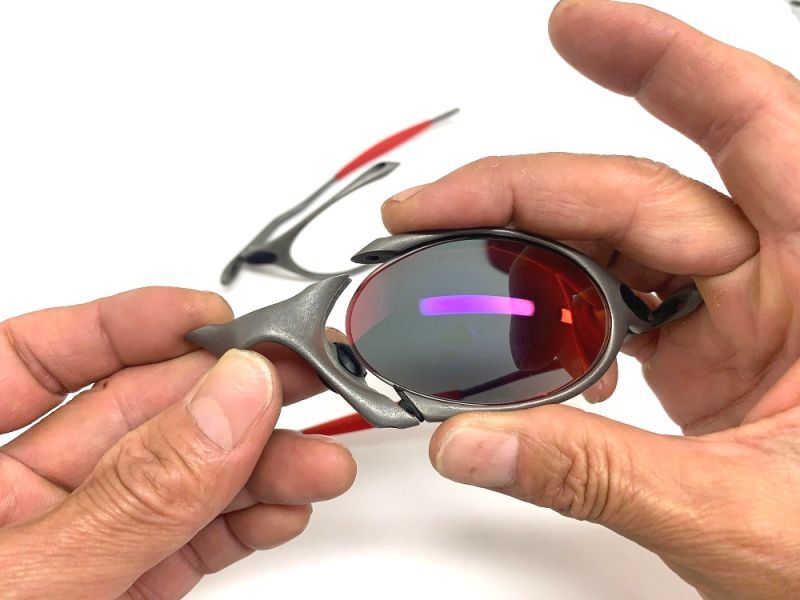
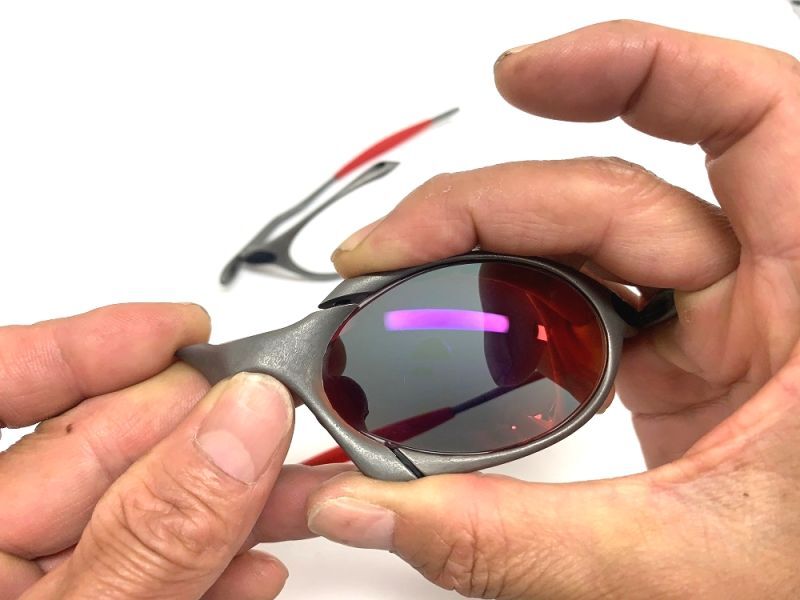
Please make sure that the lens is securely seated in the frame's rails.
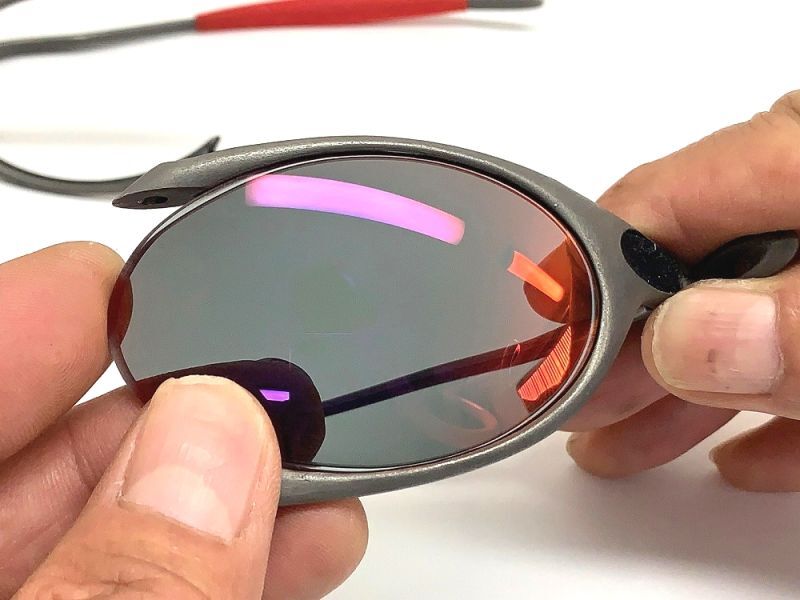
Once the nose bridge is properly in place, you can attach the gasket.
Attach the orbital screw.
Please proceed with the same steps on the opposite side.
The task is complete.


!!! Please read this carefully.
All of our lenses come with a 'Distortion Correction' feature called 'D-Center,' which means that the lens thickness varies between the nose side and temple side.
Therefore, if the lens is not installed correctly, it can cause distortion in your vision when looking through the lens, making your field of vision uncomfortable.
Our lenses have different thicknesses depending on the material and functionality.
In particular, NXT lenses are thicker compared to OEM lenses, so if you install them in the wrong direction, they won't fit into the frame.
Information about the lens thickness is provided at the bottom of each product page, so please check there.
Occasionally, ROMEO1 frames may come with longer 9.8mm screws (typically, they are 7.8mm).
In some cases, you might find screws of different lengths installed on the left and right sides, so before attaching them, please carefully observe the screw lengths and ensure they are installed correctly on each side.
If your frame has 9.8mm screws and you try to attach our lenses, you may find that the screws are too long, preventing you from fully tightening them. In such cases, please replace them with 7.8mm screws and then proceed with the attachment.
**Frames with 9.8mm screws appear to have been installed by OAKLEY to compensate for individual variations in frame dimensions when genuine lenses didn't fit snugly.
※ Frames from the initial period (Jordan models / serial numbers below 9999) were cast with each frame part using OAKLEY's early sunglasses manufacturing technology and therefore have a 'rough base metal.'
As a result, these frames often have elements that hinder the fitting of lenses, such as 'burrs remaining inside the frame rails' and 'uneven depths of the frame rails.'
Fundamentally, from the early production of ROMEO1 to the end of sales, the shape of the lenses themselves has not changed at all. However, in the later models (after 2004), advancements in technology led to smoother base metals, making it relatively easier to fit the lenses.
Consequently, 'later model lenses tend to fit loosely on frames,' and 'early model lenses tend to fit tightly.'
Even though the 'shape of the lenses is consistent,' the lens fitting can be influenced by the frame's generation and the condition of the frame's base metal. We hope you can understand this background.
To elaborate further, ROMEO1 did not have a polarized lens version because OAKLEY's 1.9mm thick polarized lenses couldn't accommodate these individual variations, which is likely why OAKLEY didn't release a ROMEO1 model with polarized lenses.
In our store, based on our experience with the history of ROMEO1, the repair of numerous frames, and our lens processing technology in collaboration with I.C Japan, we ship lenses without needing to see the frame they will be attached to. (Normally, lens attachment is done with the specific frame in mind.)
Nevertheless, we acknowledge that due to the individual variations in the frames mentioned above, we cannot provide a one-size-fits-all solution for lenses."
By reading these points,
we hope you can understand that issues related to LINEGEAR lenses not fitting into frames are not solely due to 'the lens shape being inadequate' or 'it's not Oakley oroginal, so it can't be installed perfectly.' There are various reasons, as explained above.
If you encounter lens fitting problems, we would greatly appreciate it if, instead of expressing dissatisfaction with LINEGEAR while considering the factors mentioned above, you could 'collaborate with us' to address the challenges.
The information provided by our customers is a valuable source of feedback that plays a crucial role in improving our product quality.
"If you encounter any issues with lens fitting, please don't hesitate to contact us."
In such cases, our store will adjust the lens to ensure a proper fit. We have established systems to provide excellent customer support, so please feel free to reach out, even for minor concerns.
We want to emphasize that we are not a business that operates on the principle of 'once you purchase the lens and it's delivered, our part is done.'
Furthermore, we believe that one of our strengths is offering services that may not be provided by OAKLEY, such as lens reprocessing and size adjustments.
Thank you for reading until the end!
How to Change/Remove the Romeo 1.0 Lens: Method2
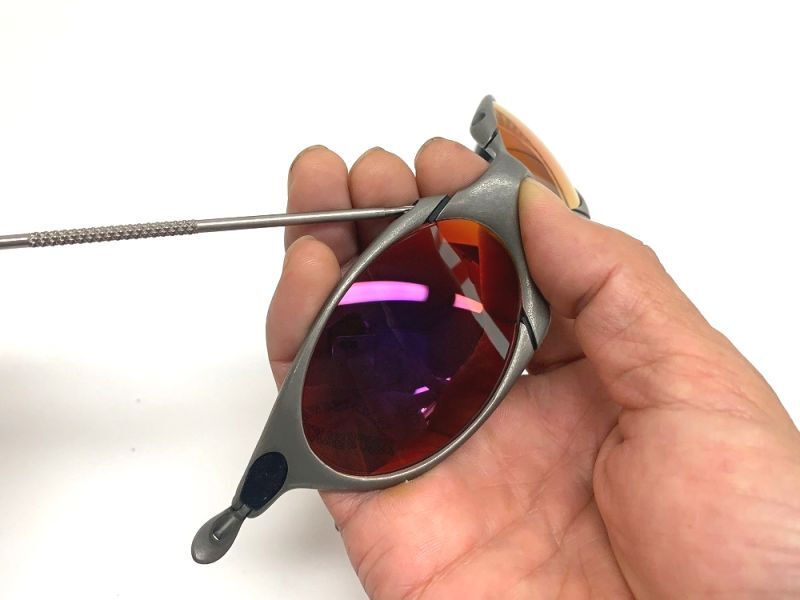
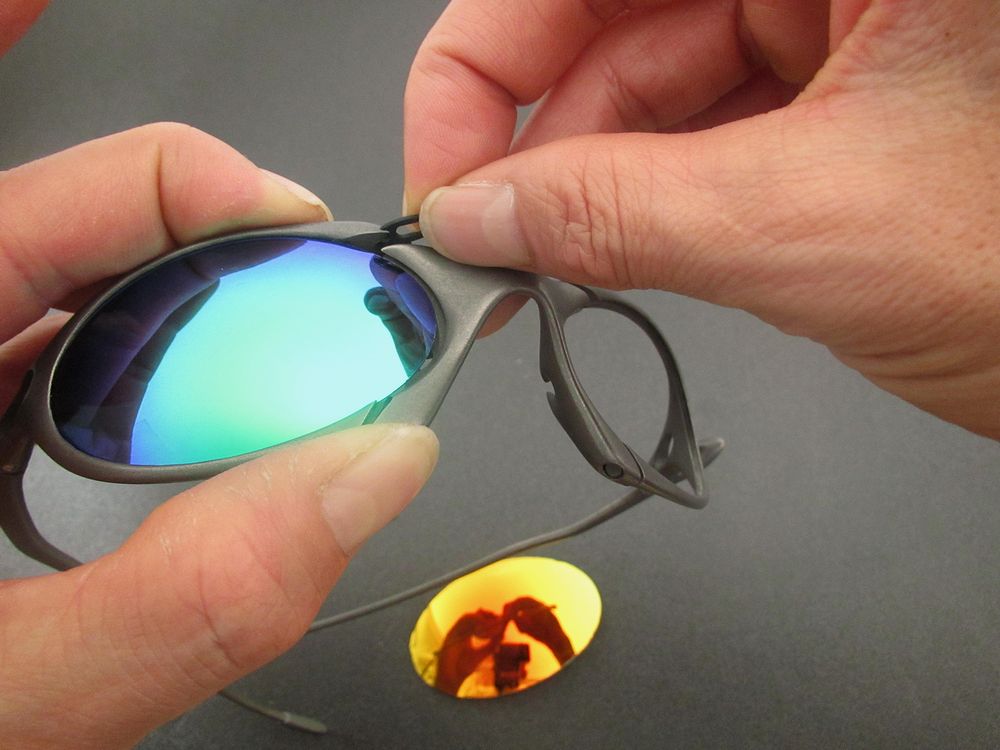
Remove the screw out from the frame by using a T6 screw driver
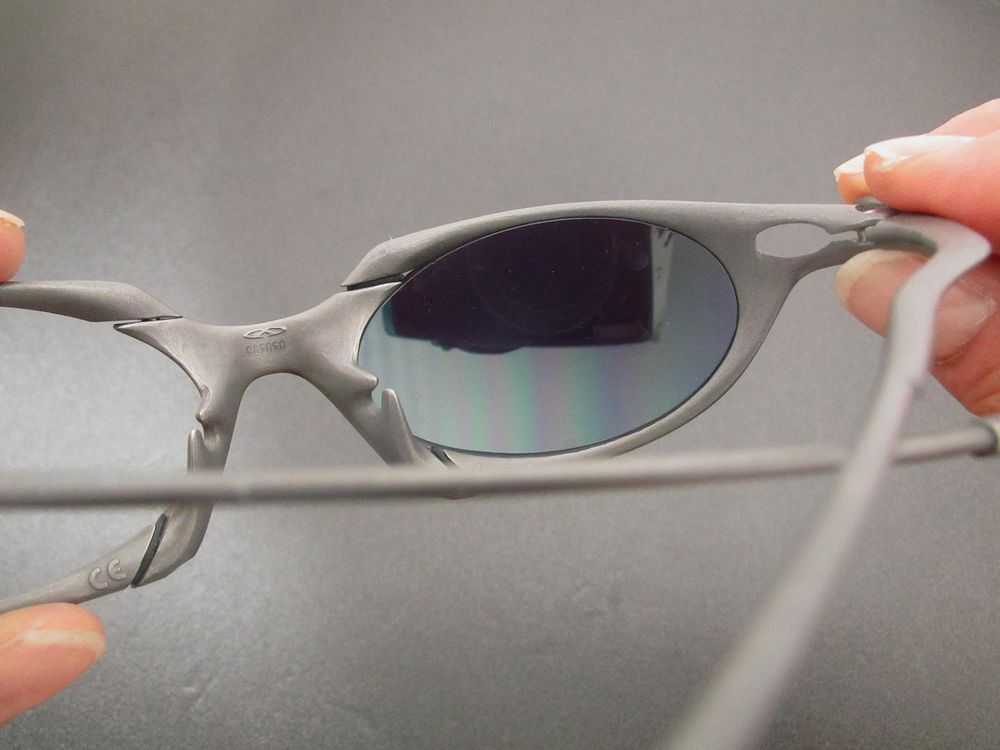
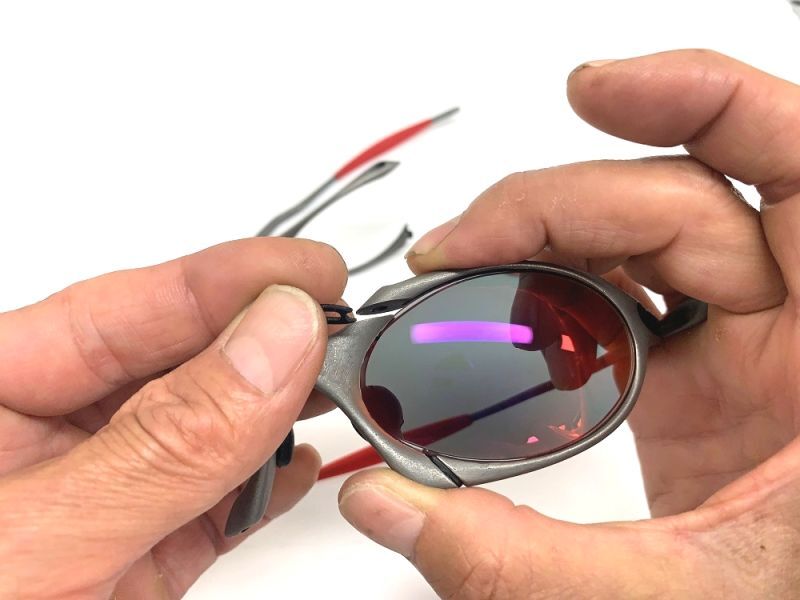
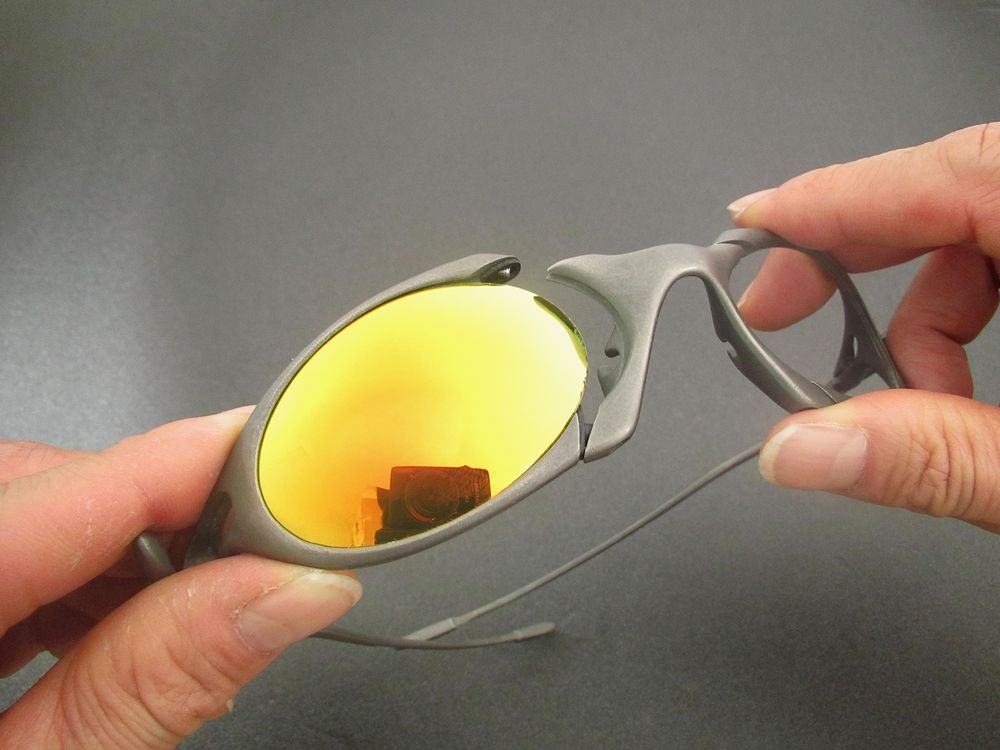
As picture below, the frame will open by nose part and lens part.
Now, you can remove the lens easily.
How to Install a new Romeo 1.0 Lens.
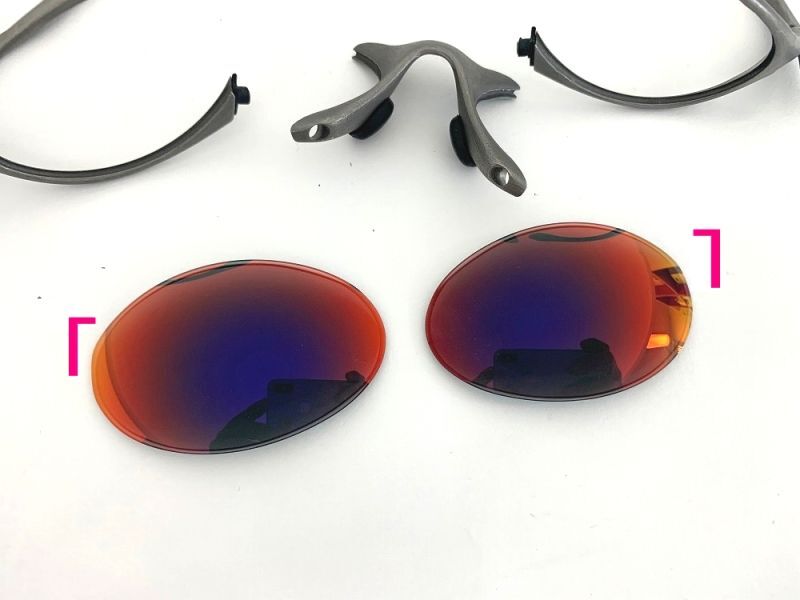
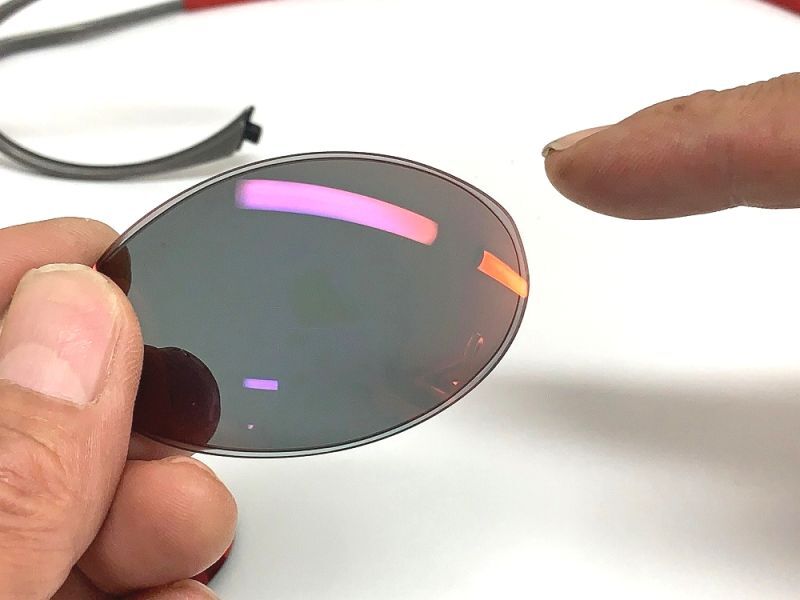
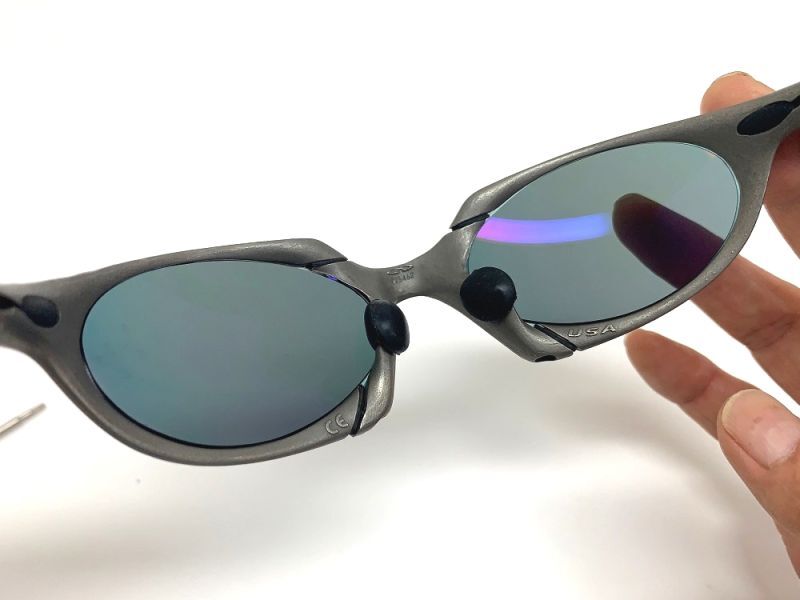
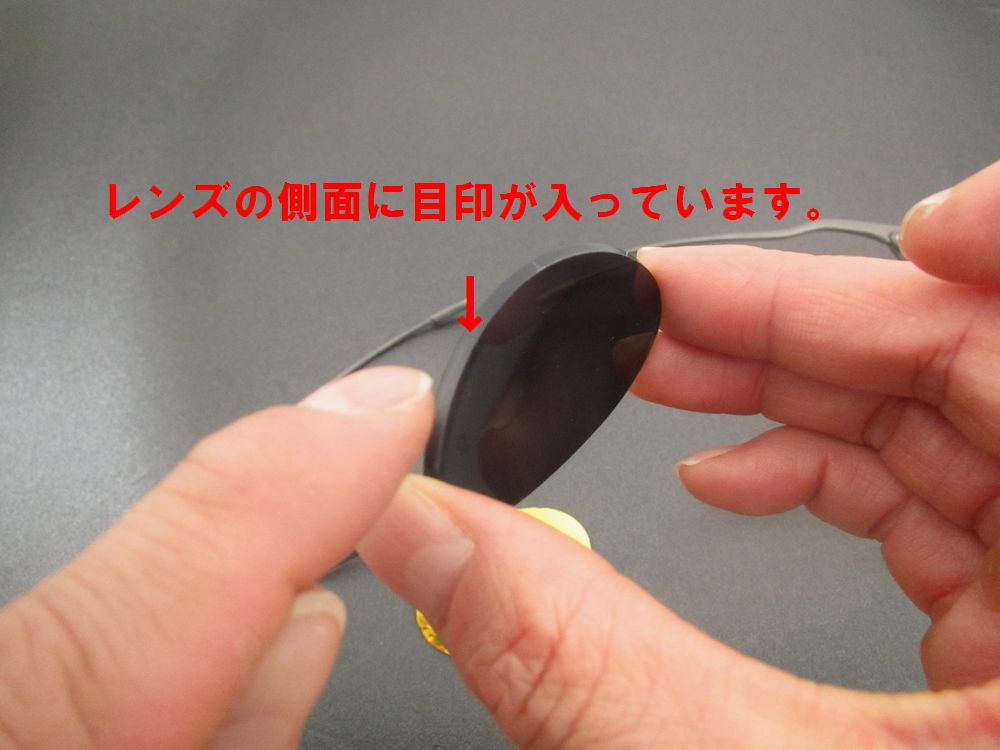
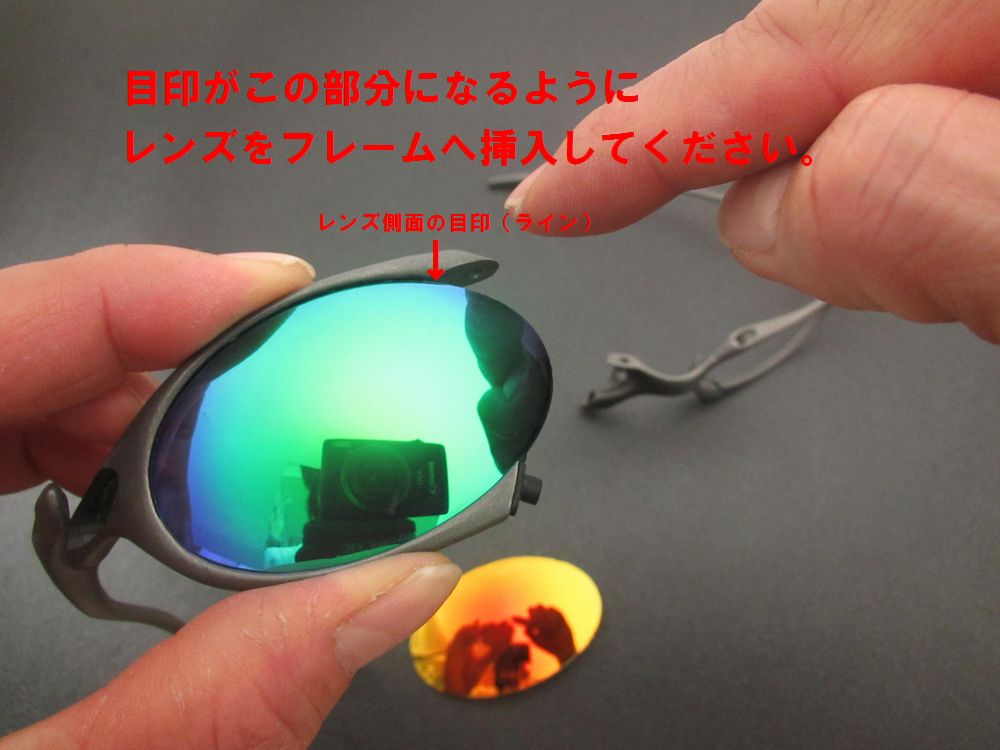
First, please check the direction mark on the lens on where to install the lens carefully.
Our lenses have a marking line on the edge (see below picture).
The "marking line" should be at the upper nose side.
After placing the lens in the frame, put the rubber gasket and start screwing.
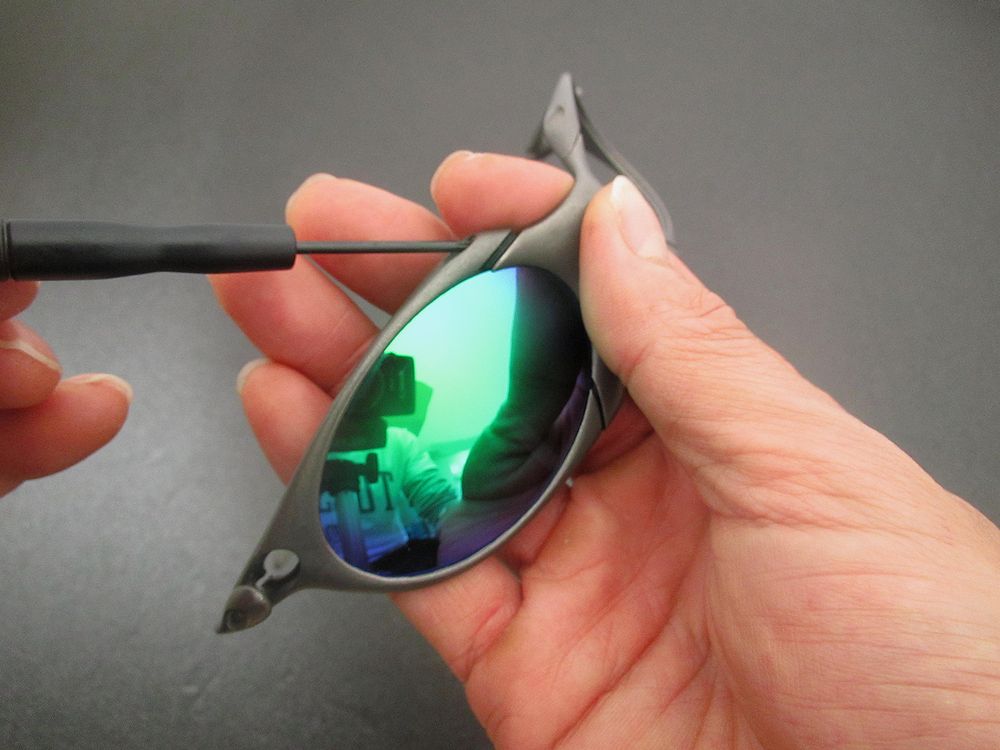
The process is not so difficult, but until the screw get stable inside, the frame and lens are unstable,
so you should do it slowly and carefully and hold the frame by hand until screw goes into the frame.